DIY Wall Treatments & Accent Walls
/Wall treatments have been around for centuries but have majorly regained their popularity in recent years. There are so many different types of wall treatments, from wallpaper to wainscoting, that one of them is almost guaranteed to catch your eye and fit in with your style. They are such a simple addition but can make a big statement in any home. The best part? You don’t have to hire an expensive woodworker or contractor to install them - many of them are extremely cost effective and easy enough to do yourself! And you know I’m a sucker for a good DIY…
There’s many more wall treatments and accent wall ideas than you’ll see here (wallpaper, tile, plaster, etc.,) but these are a few of the popular ones I get questions about in my home. And keep in mind these were all done by myself, Curtis, or with a little family help!
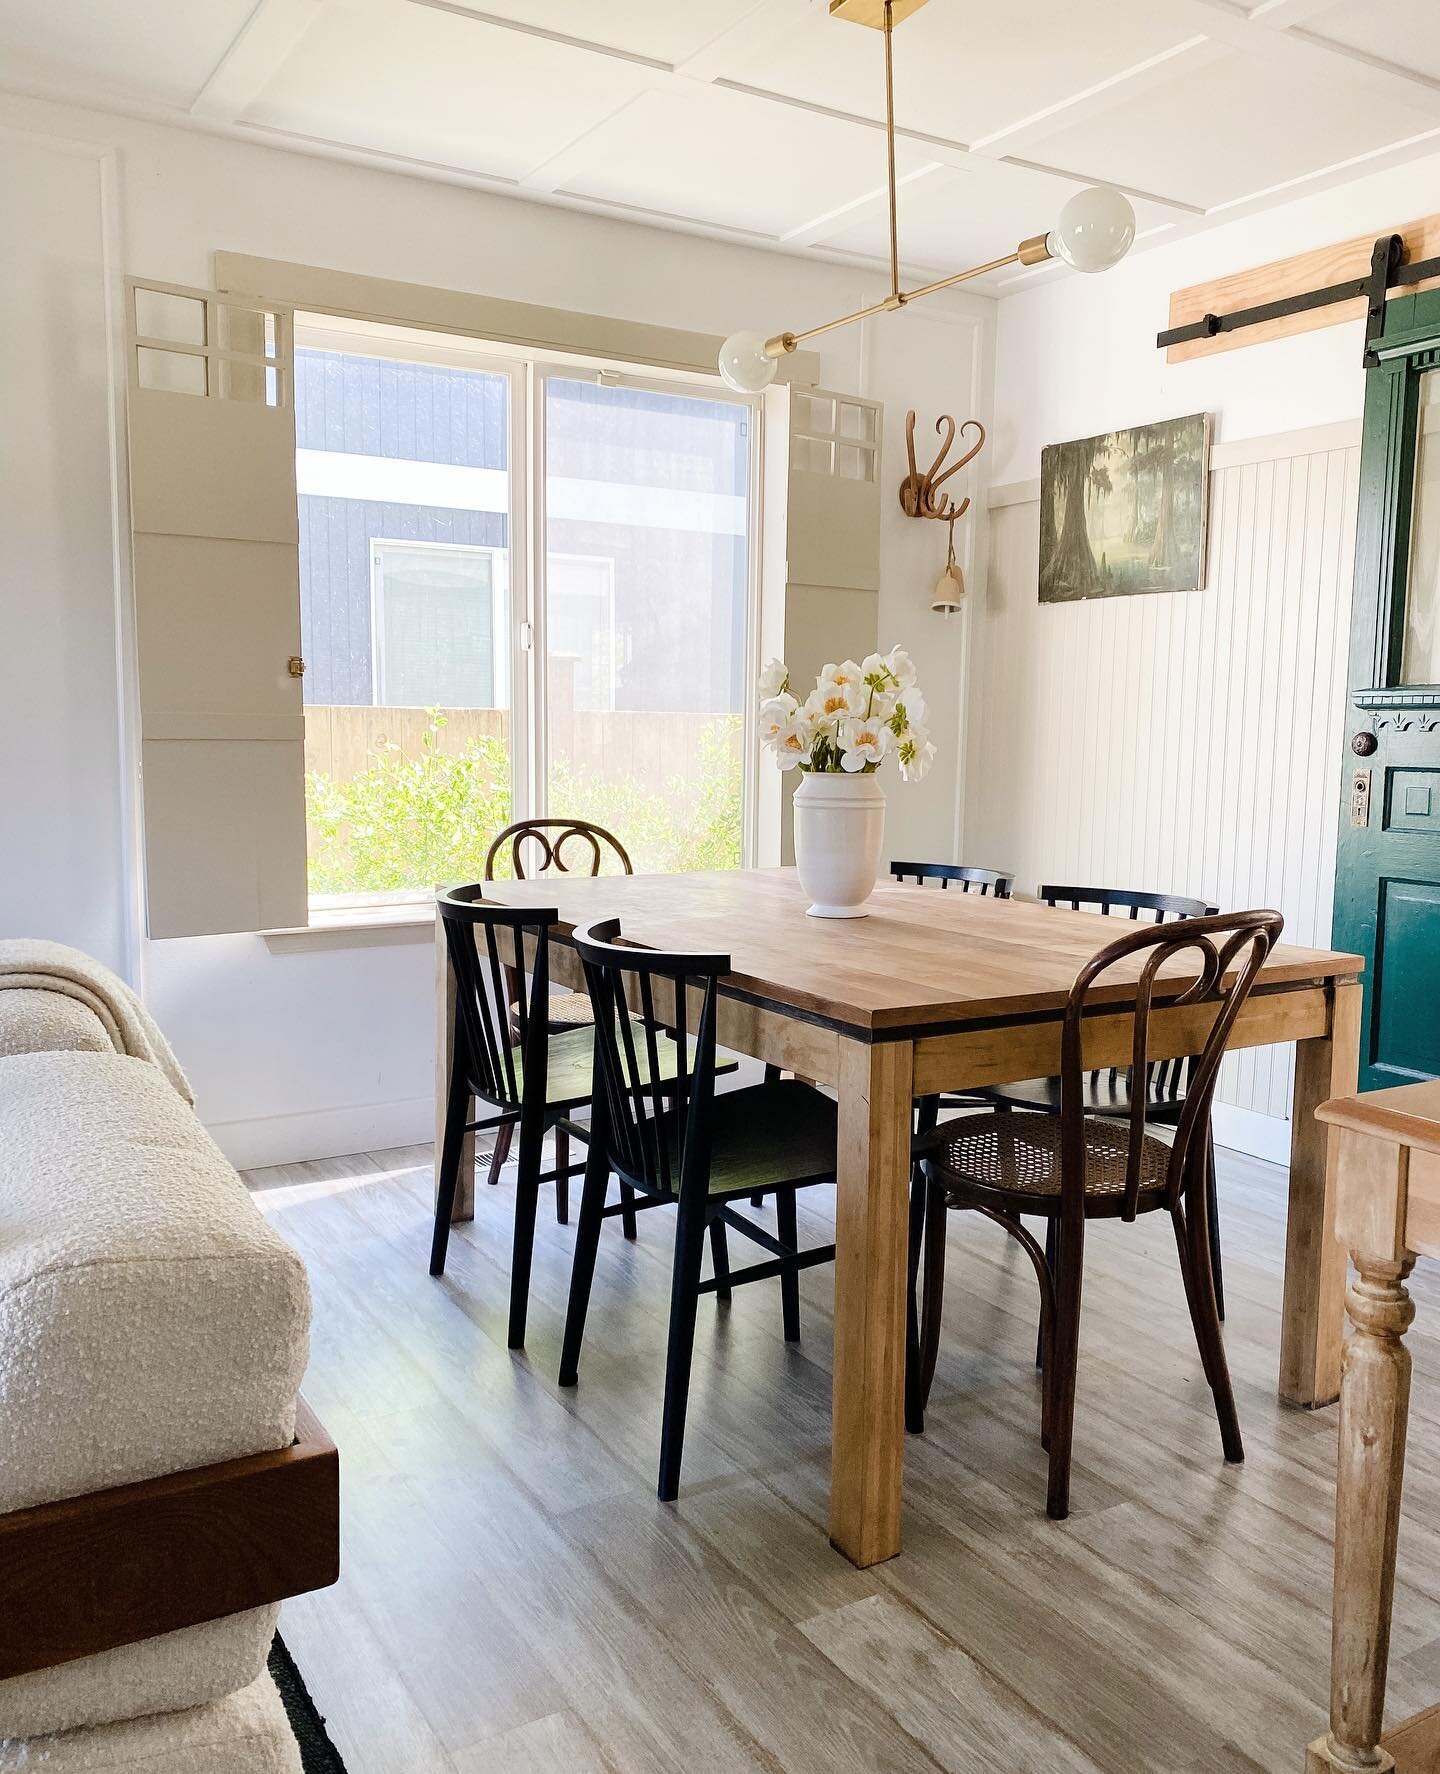
Beadboard
Beadboard consists of narrow wood planks stacked vertically that have a ridge or “bead” in between. Sometimes it’s used as wainscoting (any wall treatment covering the bottom third of the wall) or even as a ceiling accent. These days beadboard comes in long sheets that mimic the board-by-board look making it SO easy to install.

I ran my beadboard in the dining room about 2/3 up the wall and capped it with a finishing piece. Paint it the same color as the rest of the wall or room, or give it a complementary color that can add some depth and dimension to the room. Try it in a bathroom, bedroom, or even a ceiling. The possibilities are endless!

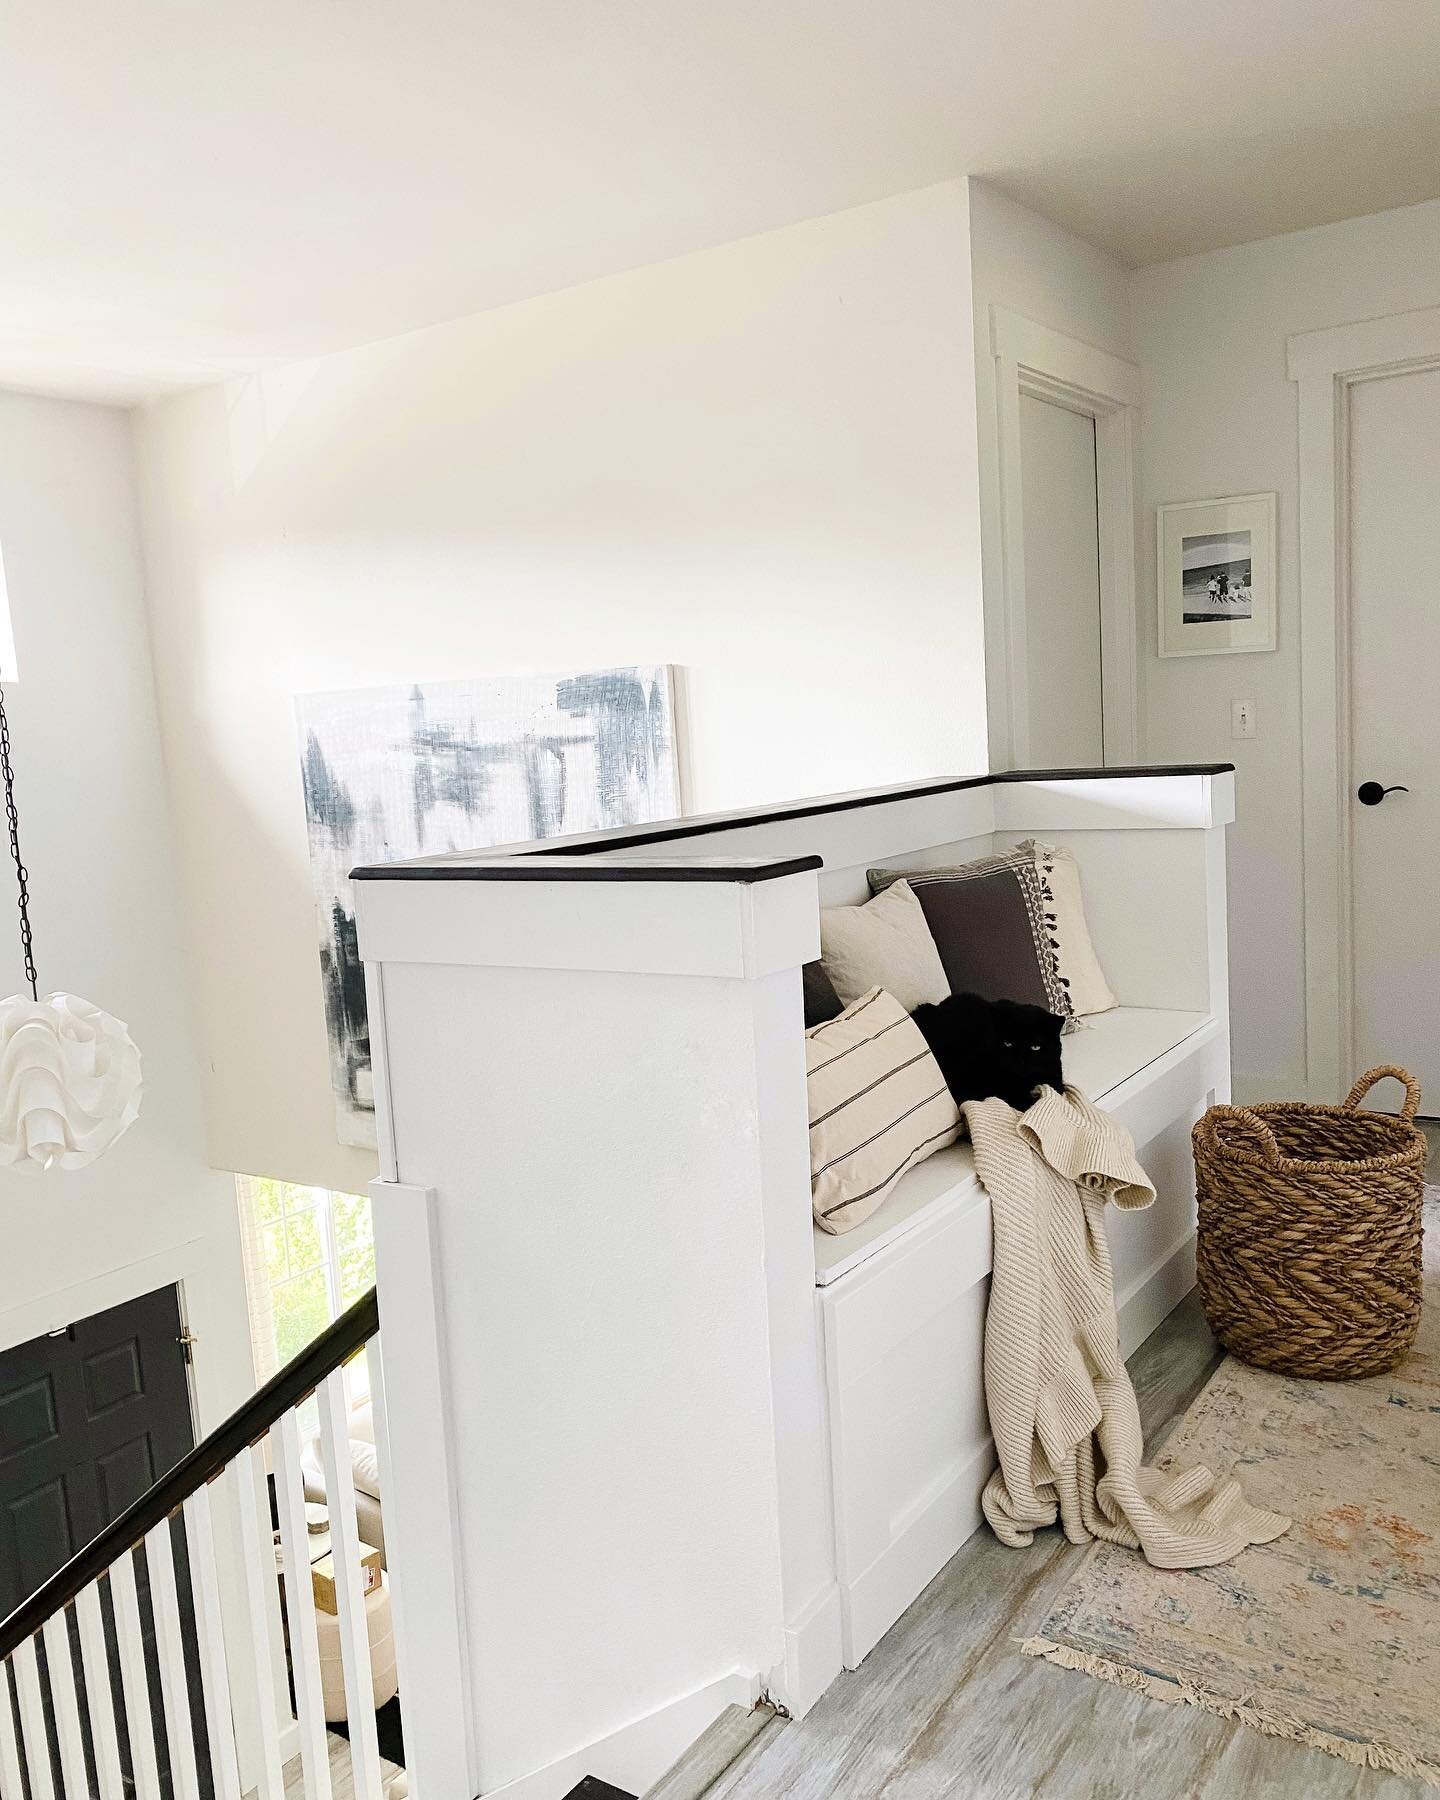
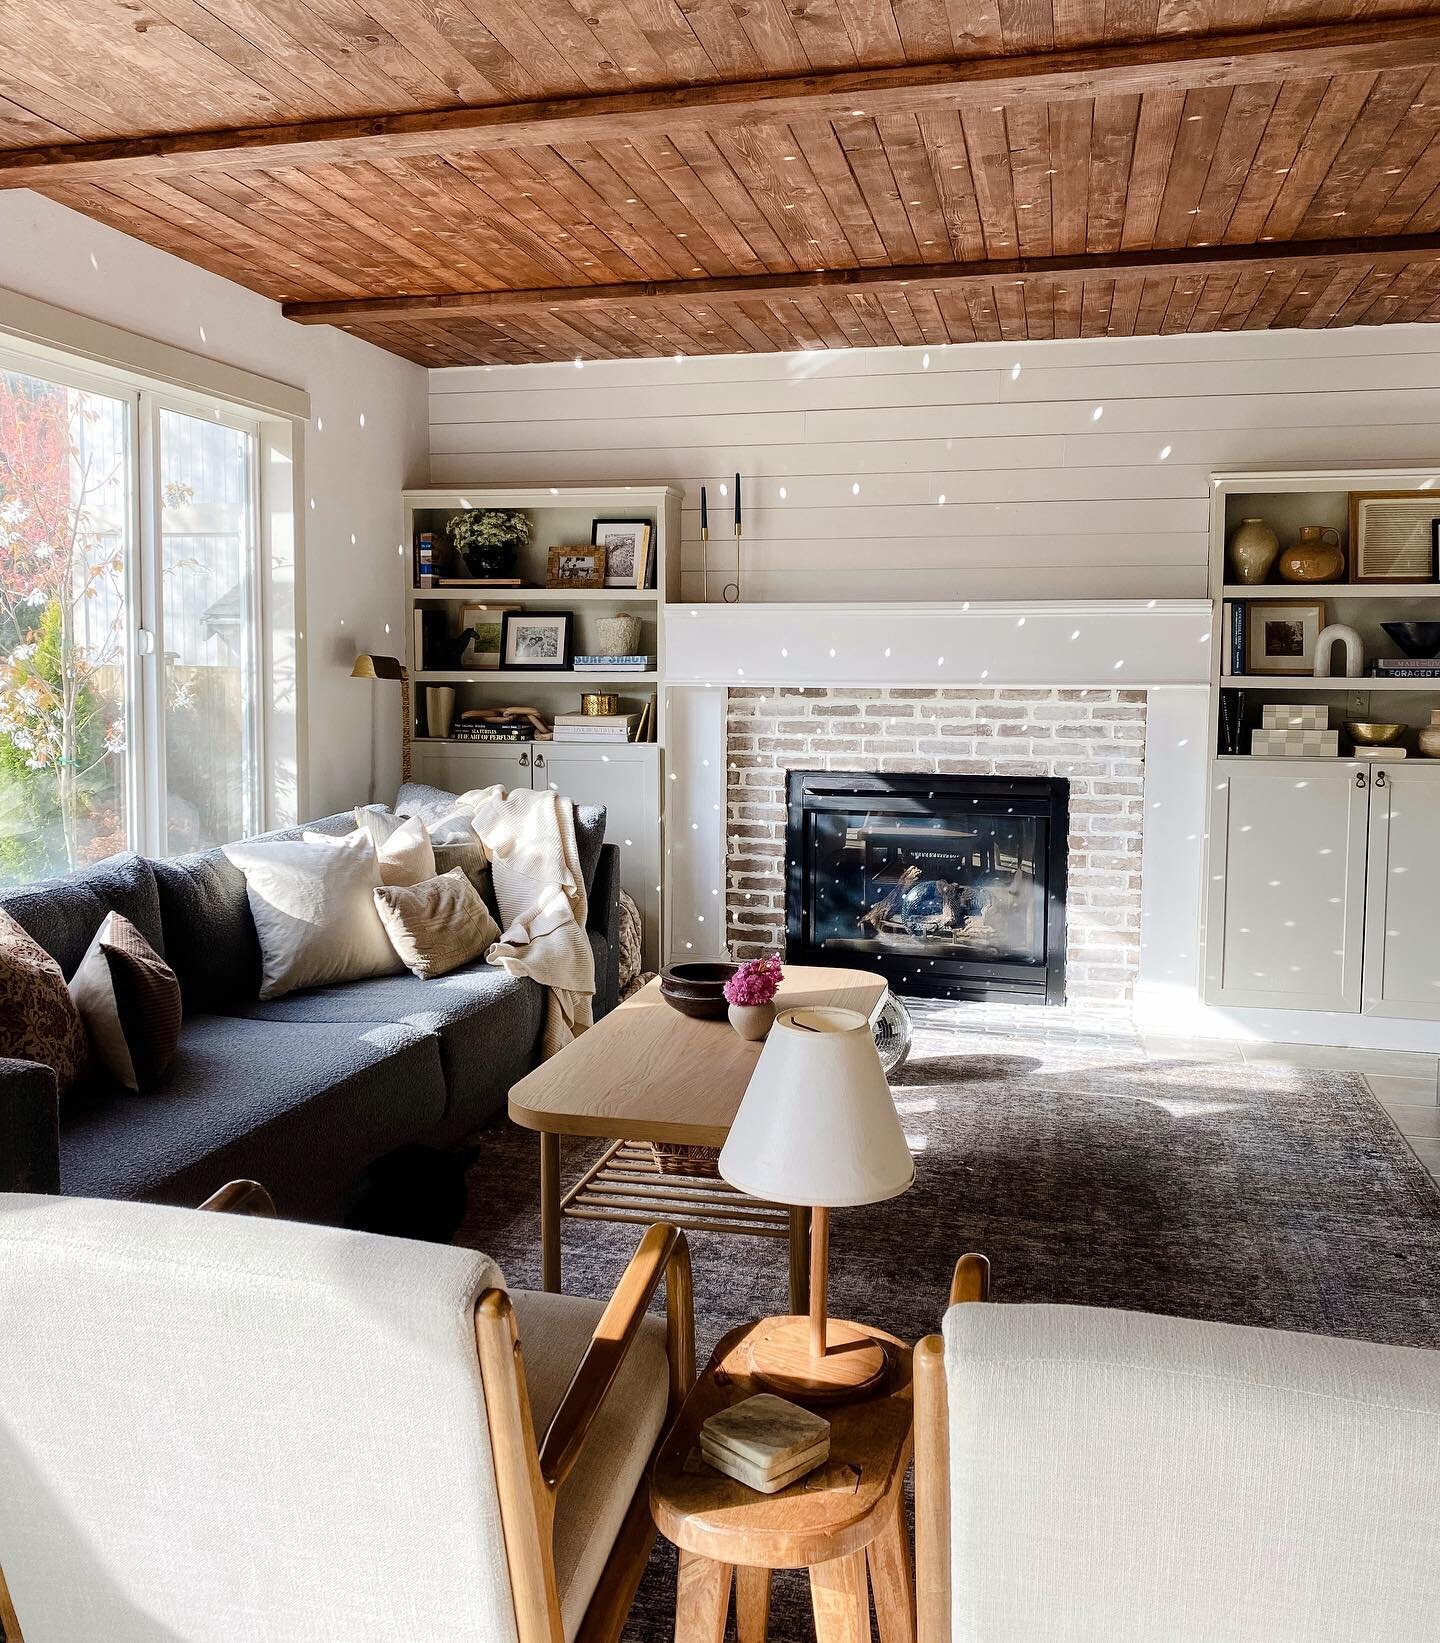
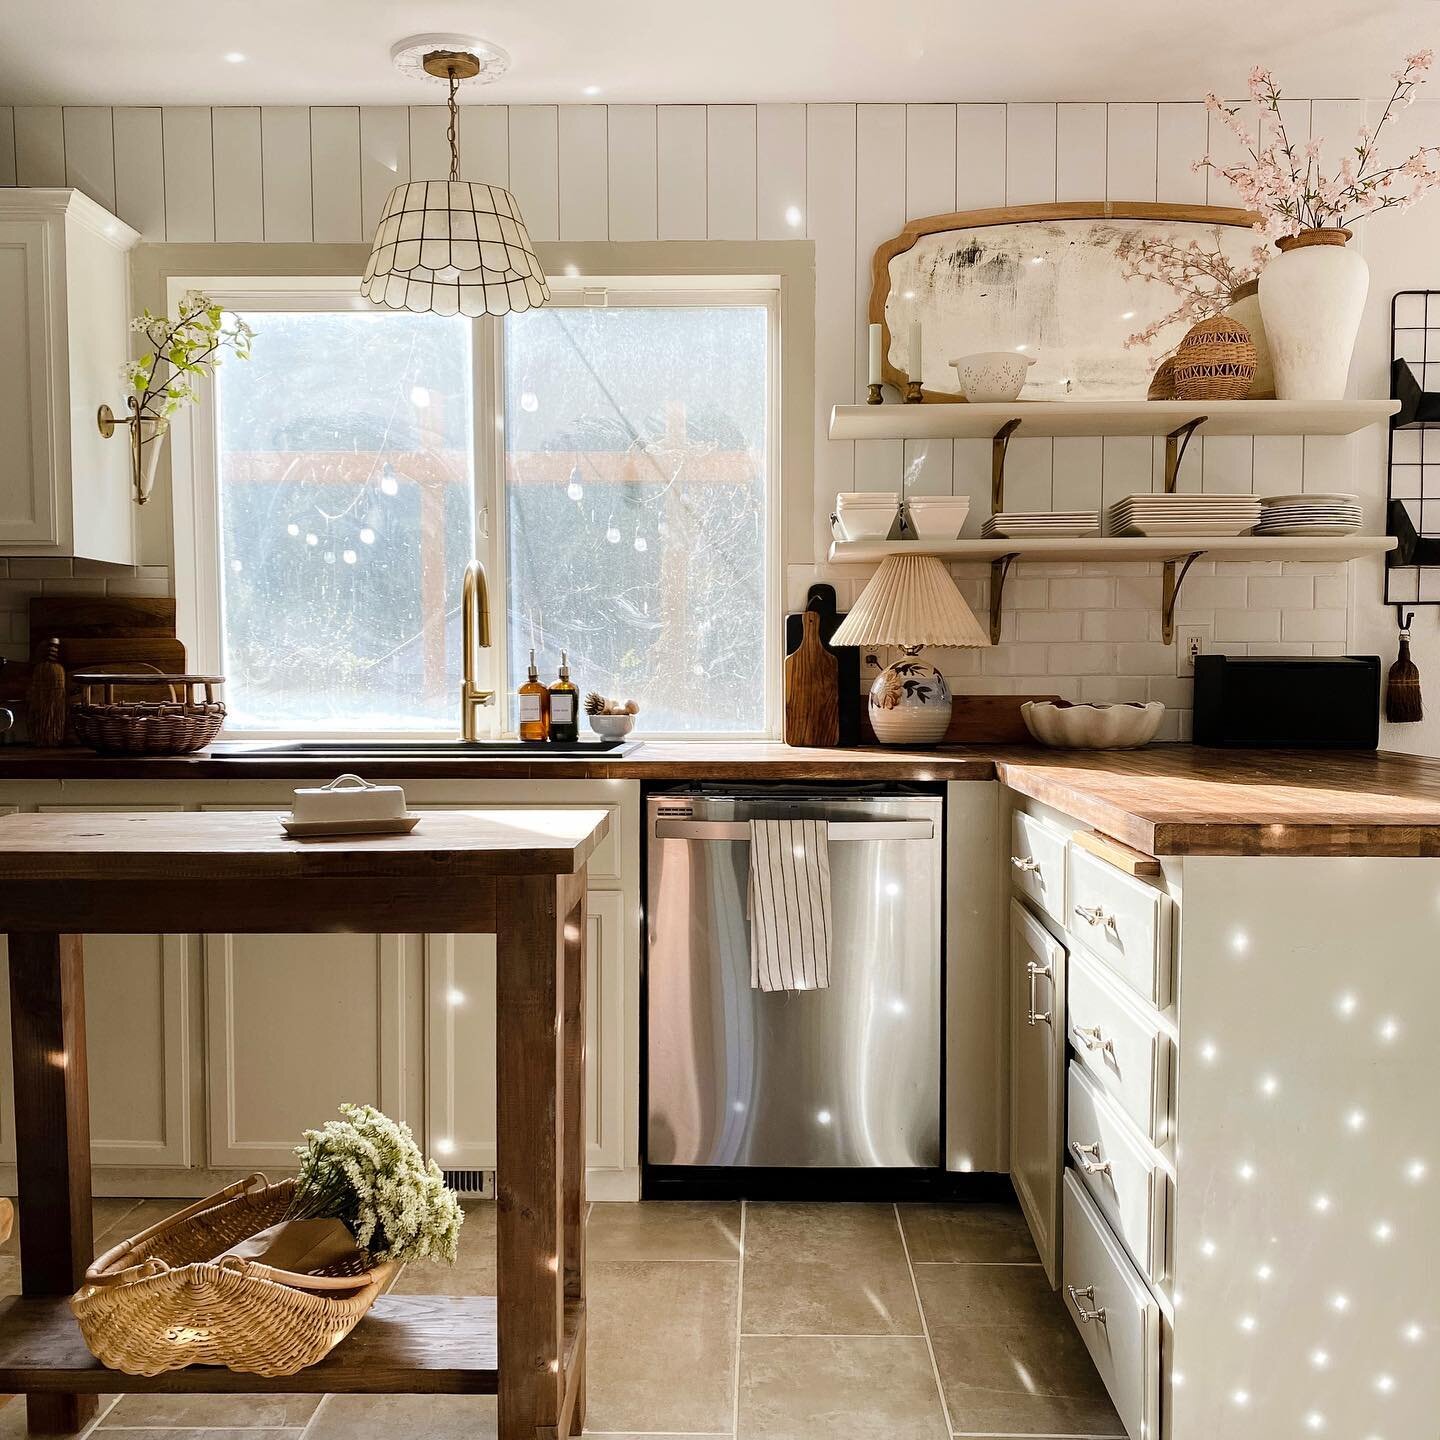
Shiplap
If you’ve watched HGTV at any point in the last ten years, there’s a good chance you already know what shiplap is. Some old homes have it conveniently hidden beneath drywall just waiting to be uncovered, but it is a trend that can easily be replicated with some simple planks of wood. The rustic charm and texture can make a space dramatically cozier and add a beautiful, simple backdrop for artwork and furnishings.

I have pockets of shiplap all over my home, some in the entryway, some in the living room, and some in our bedroom. To me it adds so much charm and a warm, cozy feel that is especially nice as an accent behind a bed frame or in a gathering space. You do have to nail it plank by plank so it takes a little patience but is a pretty easy weekend project and can be done with 1/4'“ plywood.

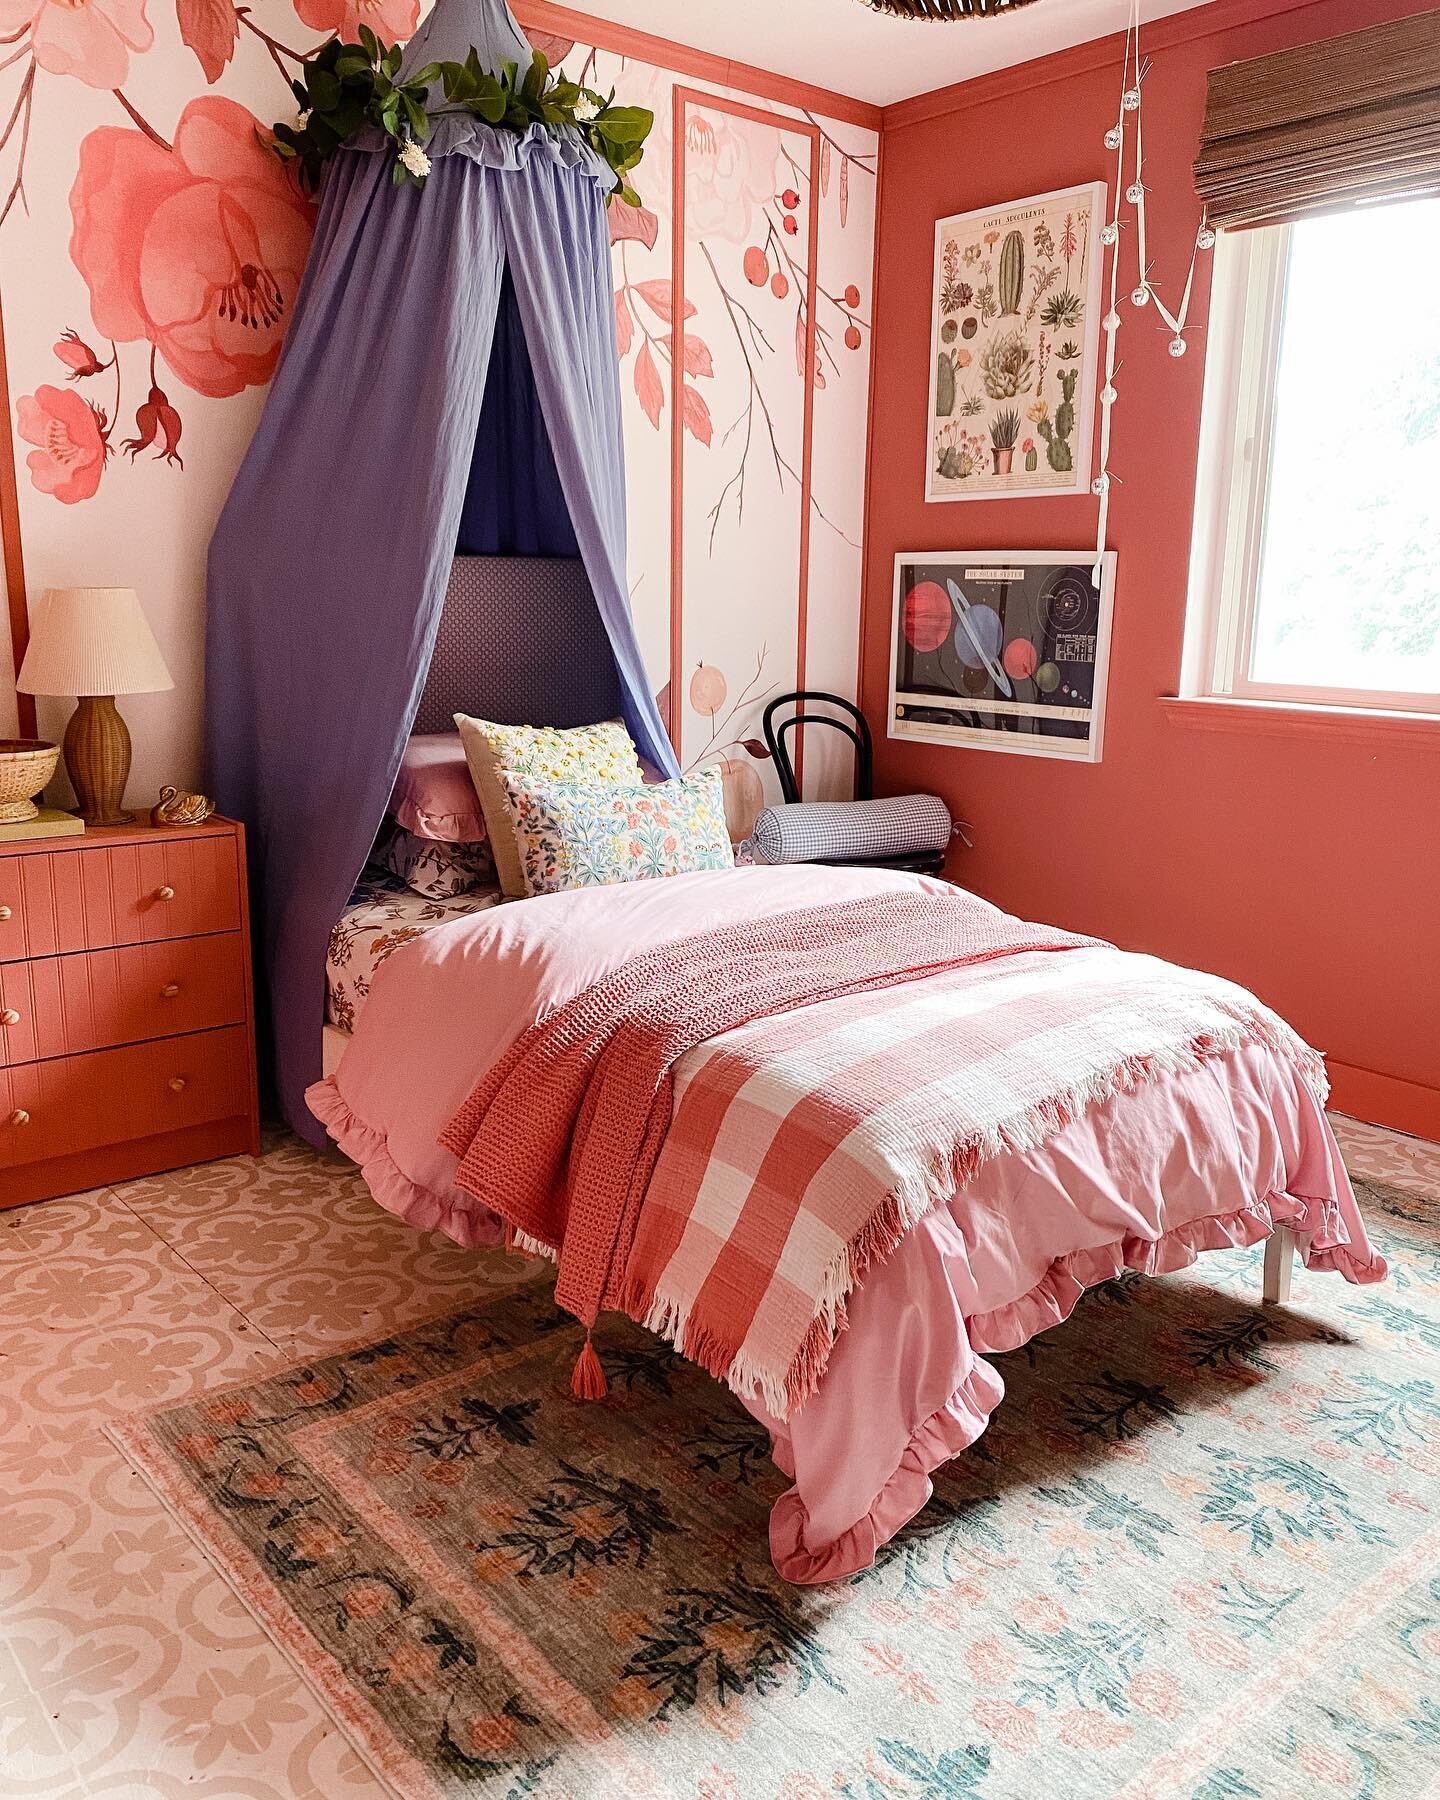
Slat Wall
Wood slat walls are a more recent design trend that really add a layer of depth and visual interest. They serve as great backgrounds for bedrooms and the walls underneath can be painted deep colors for added dimension. This slat wall we did in Jack’s room was a fun modern touch that added a ton of personality. What otherwise would have been a simple desk nook feels like a sleek, unique space you might actually want to do your homework in. The process is time consuming but still doable and uncomplicated. Opt for a sheet of plywood that you can cut into 1/2 to 2 inch strips yourself to save big on money, or use pre-cut 1x2 boards to save big on time. Pick your poison. Being the DIY queen I am I opted for the first option and while it was a pain in my butt it was well worth it in the end!

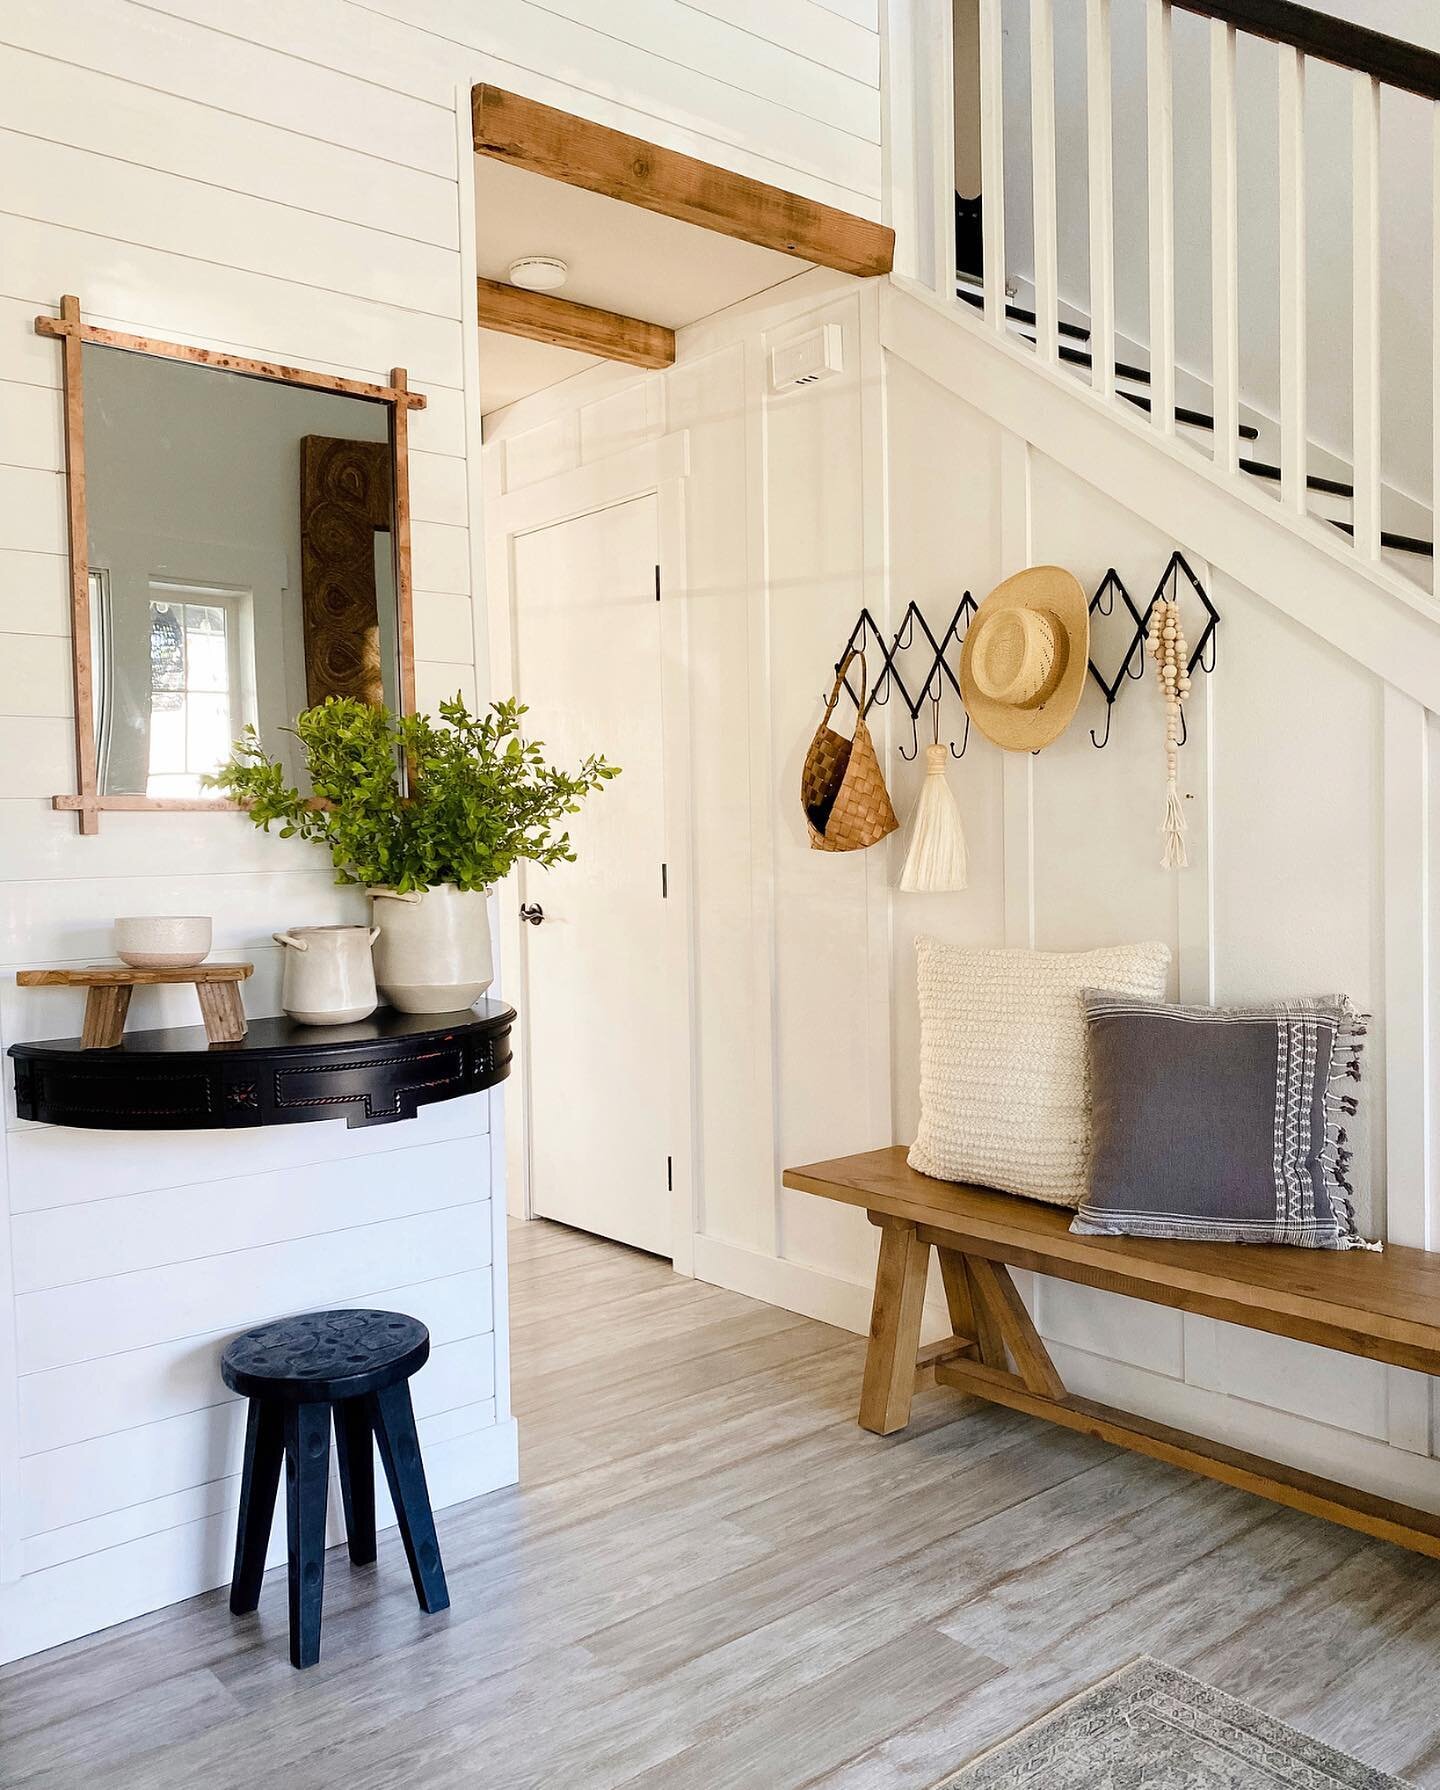
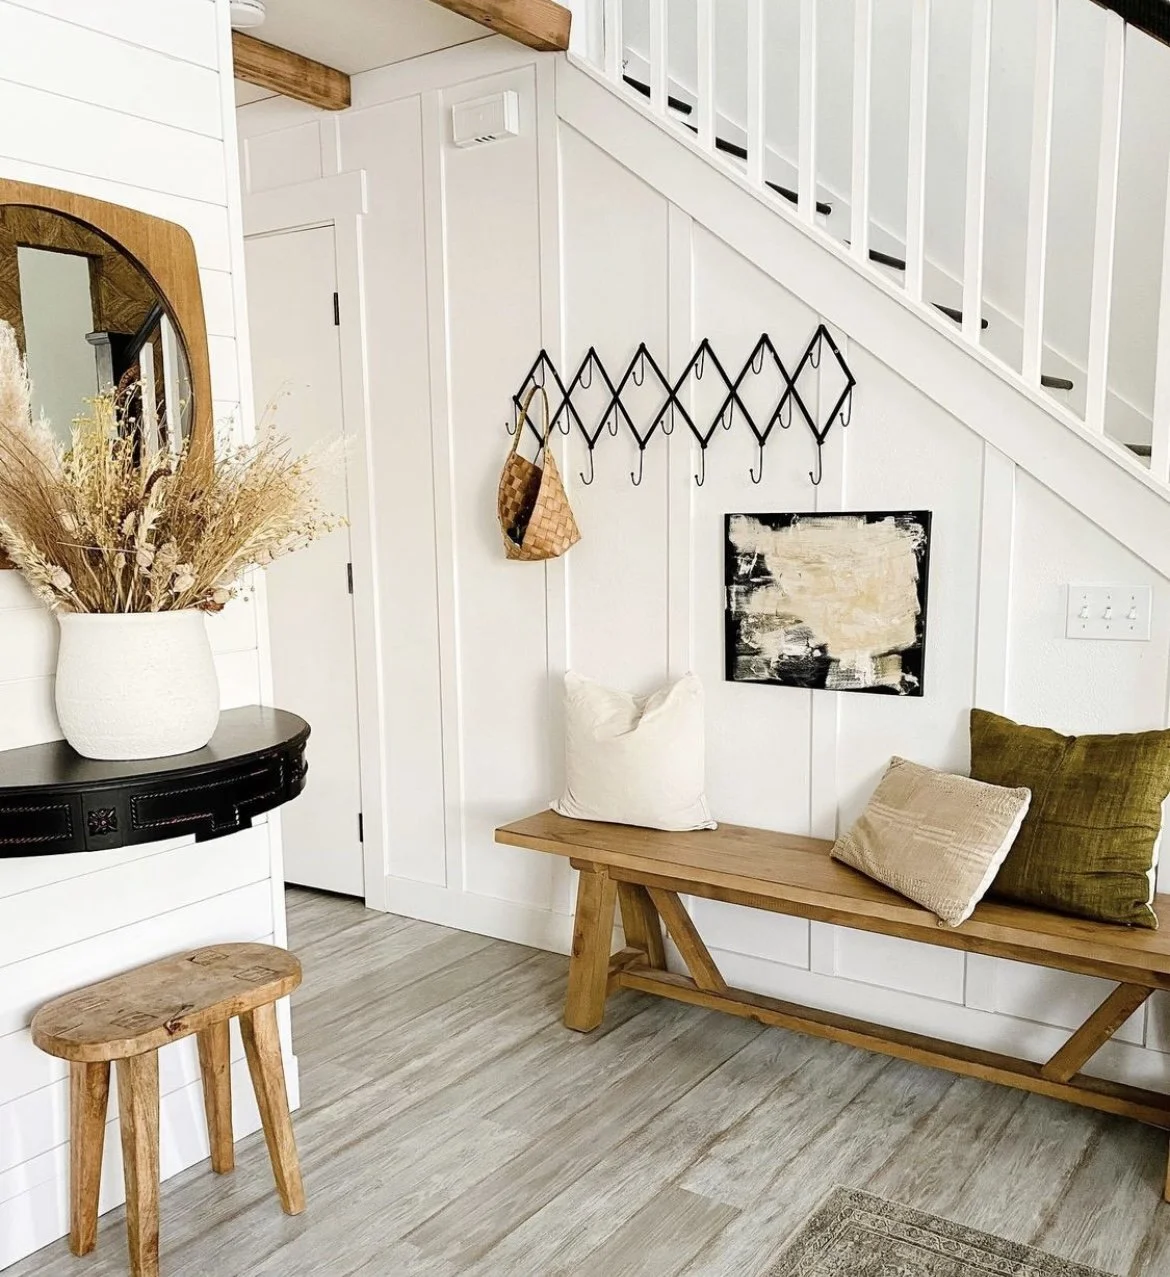
Board & Batten
Board and batten is a classic wall treatment that has been around for ages and is known as more of a traditional look (it was cheap and easy to use on sheds and barns back in the day). But nowadays it is popular in all styles of homes! Board and batten is made up of narrow planks (boards) with wider planks (battens) covering the seams. It can be in vertical stacks like in my entry or in a rectangular pattern like my living room ceiling. To save a little moolah you can also attach the battens directly to the drywall to simulate the look. Board and batten is great as wainscoting in a bathroom or dining room as well!
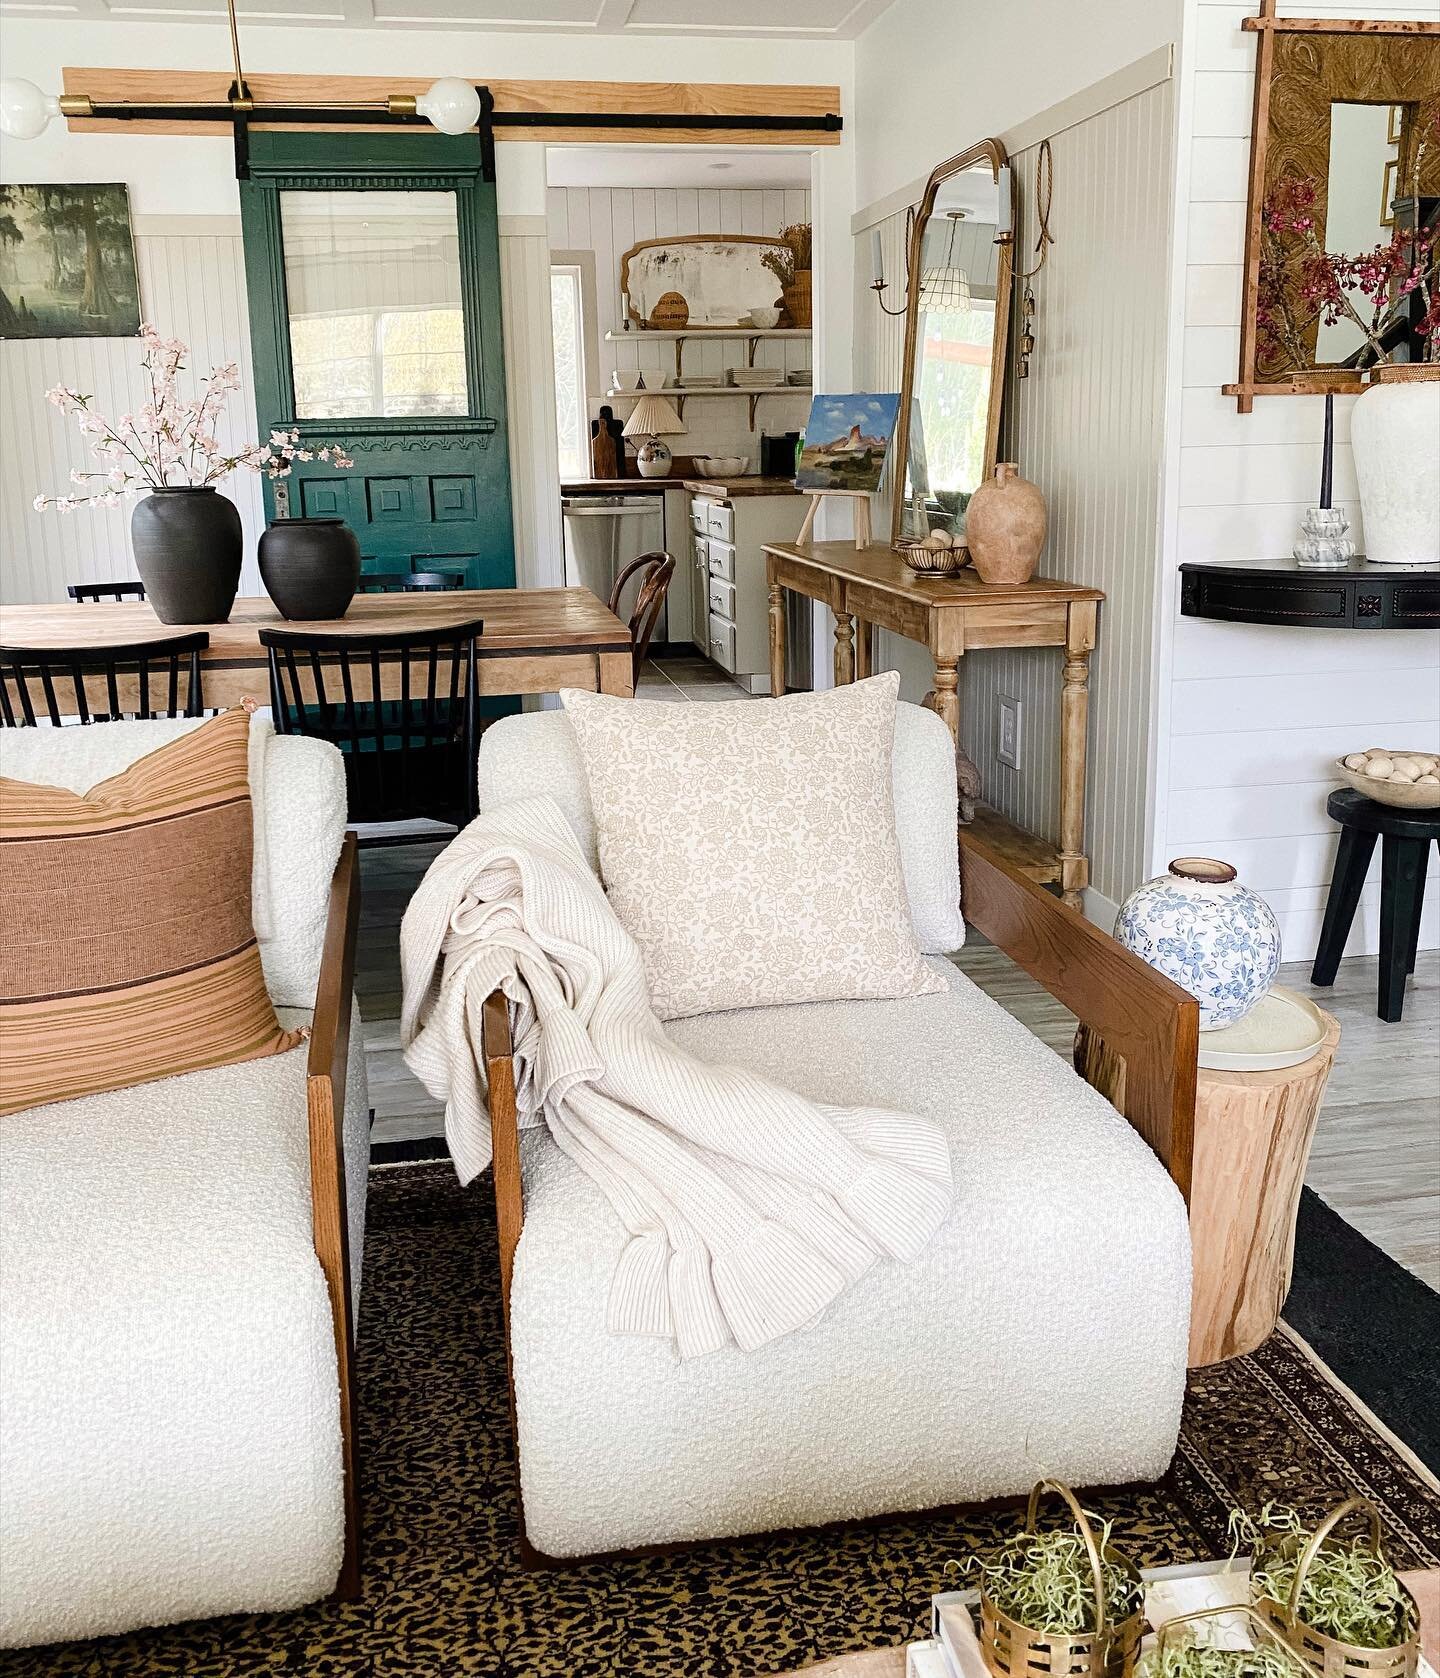
Box Trim
This wall treatment may also be known as shadow box trim or a few other names, but essentially it refers to frame-shaped trim installed on walls or layered on top of other moldings. It’s elegant and charming yet simple, and can be dressed up or down just like your favorite LBD.

Use any trim you like (base cap is a good choice for extra dimension) and adhere to the wall with liquid nails followed by brad nails. The key here is to measure twice, cut once and make sure you plan out your spacing ahead of time! Once installed, paint the entire wall whatever color your heart desires and you’ll have a gorgeous accent wall that serves as a statement but also isn’t overwhelming. I love that it almost acts like its own wall art with the framing effect too, you can find it in my living room!