The Great Tile -Wave of 2021
/The Great Tile-Wave of 2021
It all started like a tidal wave. Ok, actually a lot less water than that. More like a droplet. We had been ignoring a leak in our ceiling for more months than Curtis would like to admit because we didn’t want to fork out the extra cash when we thought it was something that we could fix on our own. Turns out, it wasn’t. When we finally swallowed our pride (and our budget) and hired out – we did not expect what would come next. We live in an early 2000’s build that is full of copper piping. These pipes have caused a few instances of grief, but none like “The Great Tile-Wave of 2021.”
When the plumber was here turning on and off the water repeatedly, he struck a cord, or more so a pin hole, with our pipes. This time it was in the kitchen. The day after Thanksgiving Curtis and I were putting the house to bed when we heard an animal sound coming from inside the walls of the kitchen. Because it was an exterior wall he assumed that it may be wasps or bees because we have seen their nests on our house’s siding every summer. It didn’t seem like the appropriate time of year for insects, but 2020 pulled the rug out from everyone’s feet and maybe that applied to bugs too?
The next day Curtis was messing around in the kitchen when he called out my name and it was the kind of voice that I knew there was something that I didn’t want to see. Like a broken vintage, Christmas glass or smeared remnants of an omg-who-knows-what-that-is substance. What he was referring to, was the lifted flooring surrounding the dishwasher. After pulling out the dishwasher, running it and then running it again, Curtis climbing and knocking around underneath the house 3x, we determined it was coming from inside the wall. You could see water piling out of the hole that the electricity was running from. While the kids were in bed we knocked a giant hole in the wall that led us to find rising water levels inside the vapor barrier behind our drywall. And we could tell the leak was further up. Like, behind the shiplap, that was covered by shelving and all our dishes. As quickly as we could, we took down all our dishware and shelving, took off the shiplap, and with a ‘here goes nothing, cross your fingers it’s not behind the subway tile’, we took into the wall. We found it right away with the first hole that we made. Or I guess that was the second hole, first being behind the dishwasher. Luckily this was an easy fix and anyone that knows anything about plumbing would know what I mean when I said Curtis was easily able to shark bite it. THANK GOODNESS. But now we had a disaster. The floors were destroyed, our kitchen was torn apart, and all before Christmas. We were able to patch the walls and put them back together quite easily. The floors were another story. Because they had water sitting under them, mold had instantly begun to grow. Thankfully we discovered the mold on a night that the kids were sleeping at granny’s, and we were able to wash and dry the mold safely and quickly.
It took me what felt like ages to pick out new flooring. Realistically it was over a few days, but I have no chill and I like to make things happen instantaneously. When we discovered that the flooring we installed in the rest of our house was discontinued, we knew that we needed to install something completely different to look purposeful. We felt that the only remaining option (that was also within our budget) was tile. I wanted an organic look with hues that pulled from the flooring it’d butt up against and the rest of the rooms. The only flooring that I could find was an online only option and I was not able to view in person prior to purchasing. Again we pulled a ‘here goes nothing’ and bought enough tile to cover the kitchen, kitchen table and family room. And then we waited.
And waited. And waited and waited some more. Until two months passed, and our order was finally in at Home Depot. You’d be proud of me. This was the same day that Curtis’ weekend was beginning and if I’ve learned anything after being married to this man for nearly ten years, it’s that you can’t rush him. If ya want something done and you want it done with at least a half smile, ya gotta let him decide he wants to do it. I gave him a day. We picked up our order and I was able to see the tile in person for the first time. Cue angels singing. It was perfection! We took it home and got to “work, work, work, work, work.” (Thank you Rhianna.)
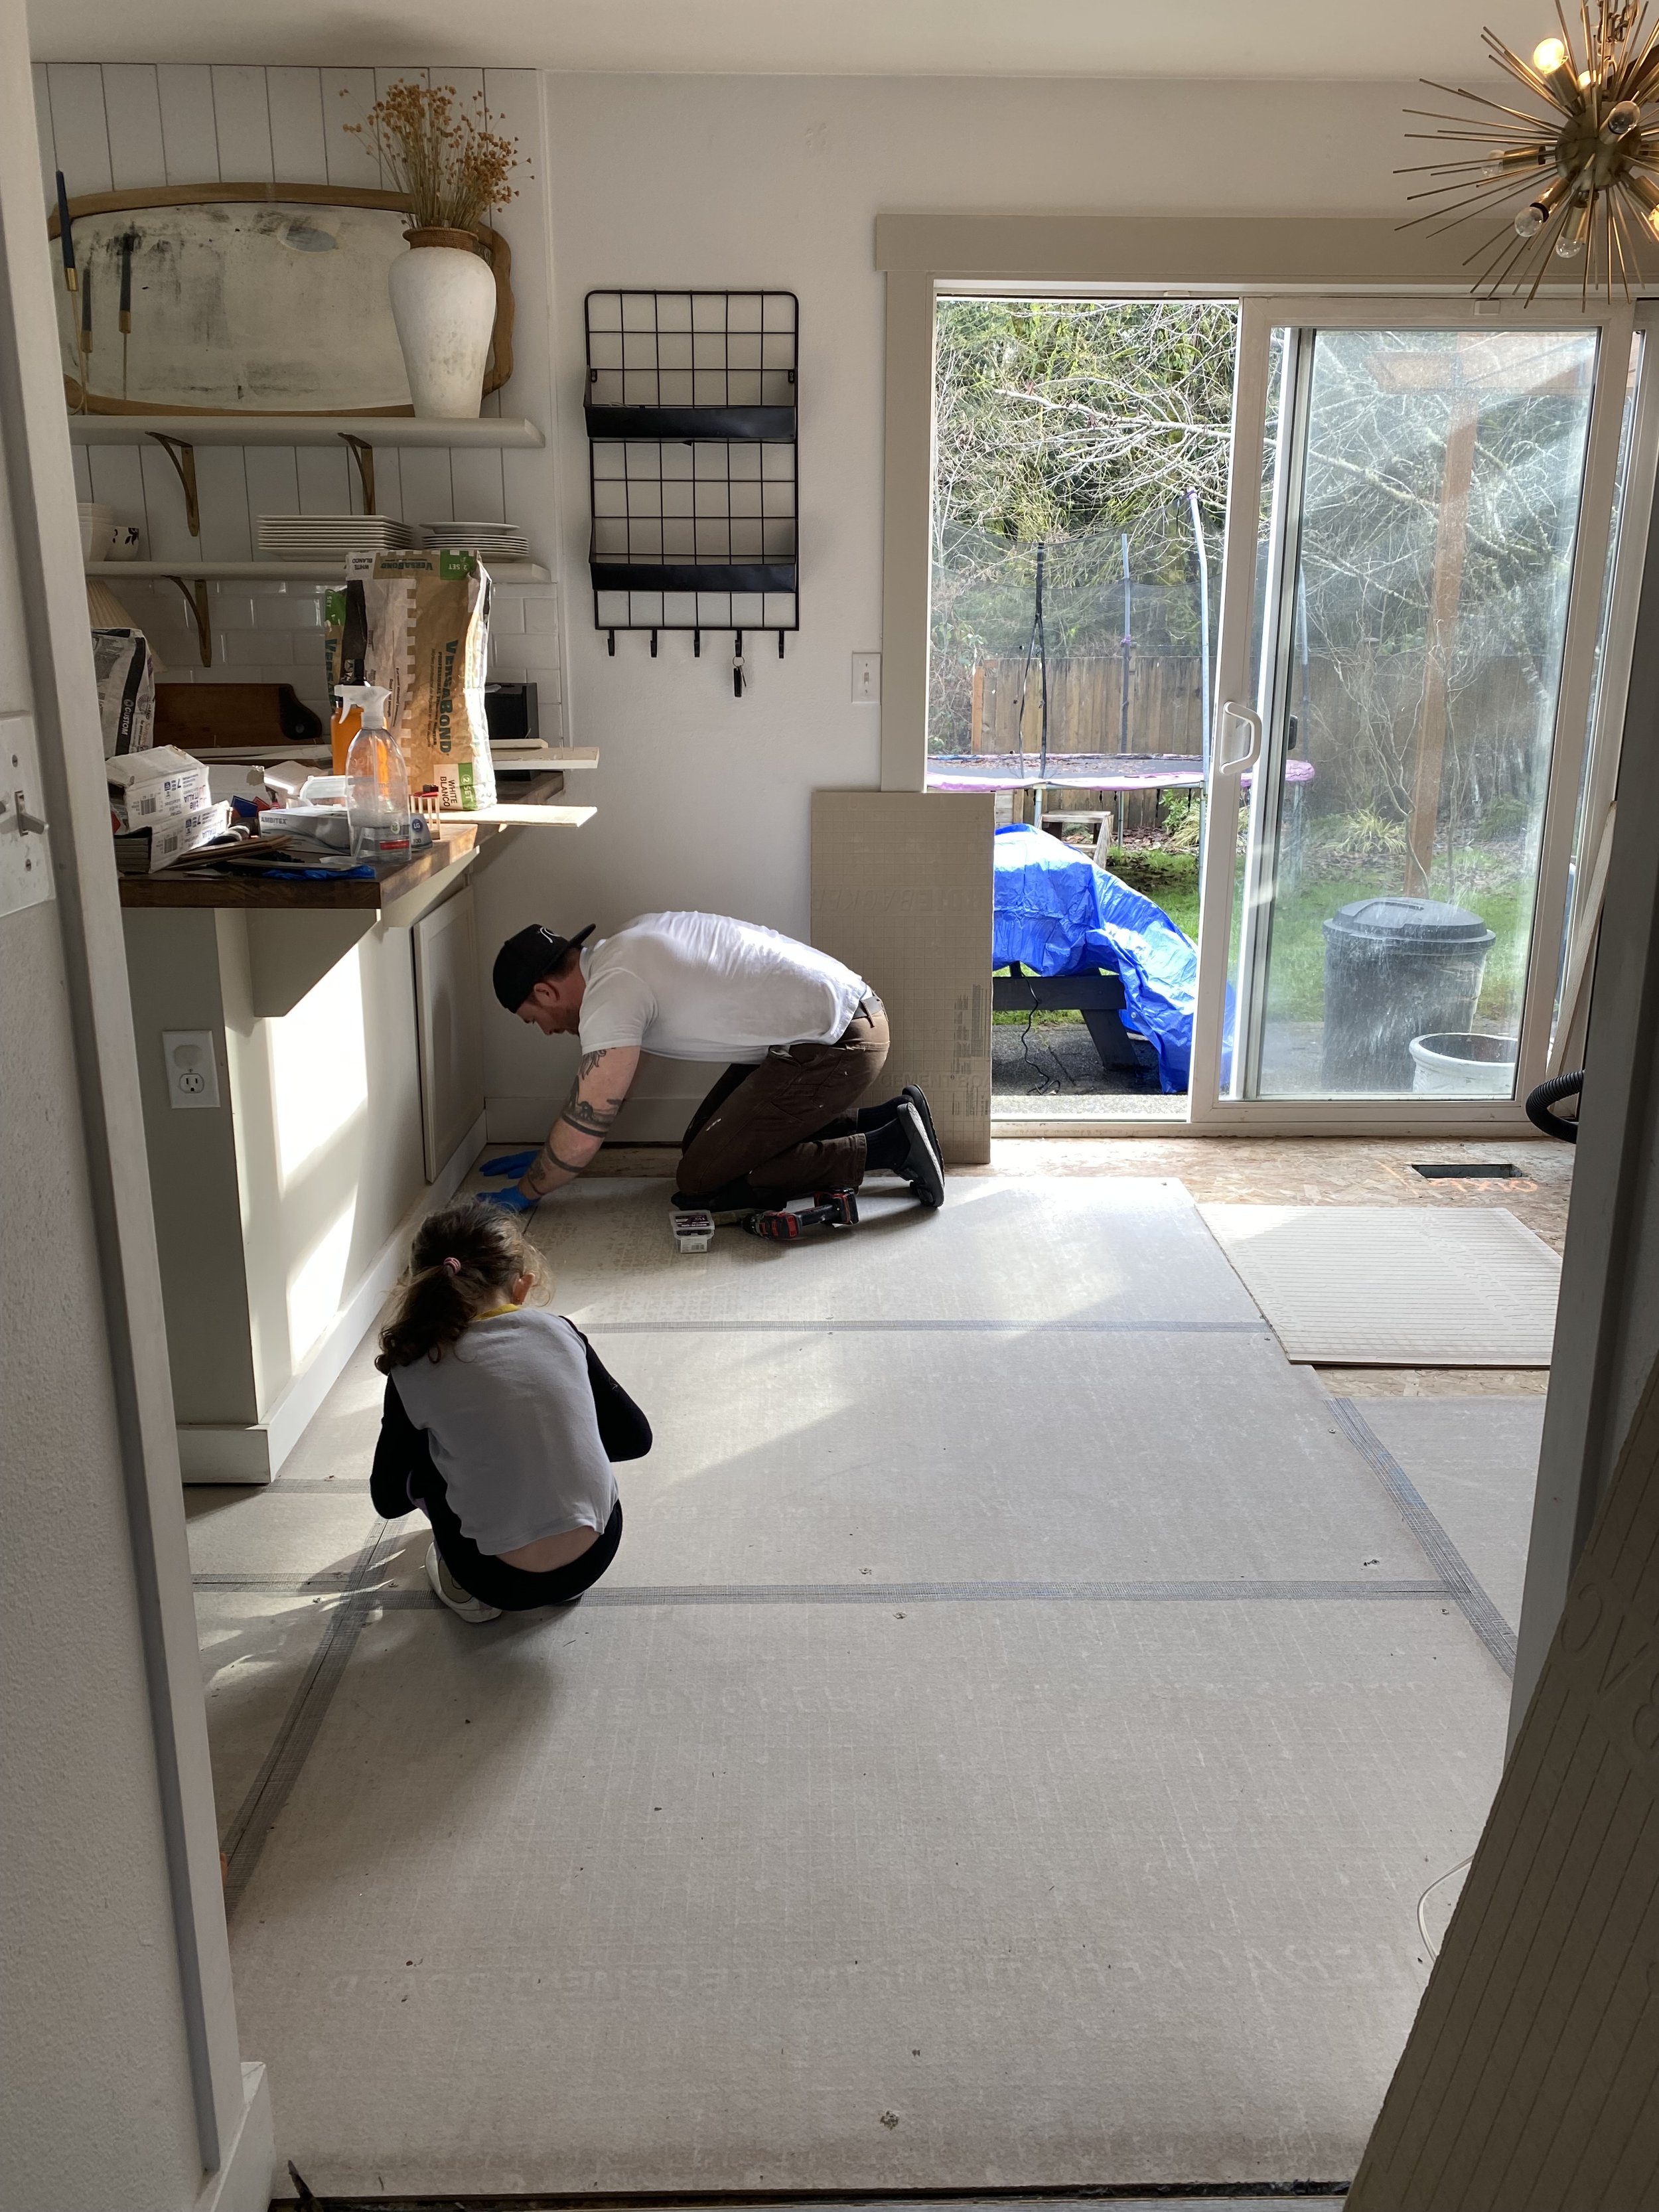
I had spontaneously booked family photos for the weekend coming and we had one week from start to finish to get these babies in place. If you’d like to see any tutorials about the actual tile install you can view them on my Instagram. I have saved the entire process in my highlights to a category entitled ‘Tile.’

Cost Breakdown:
Tile:$936.00
Cement Board:$464.10
Mortar:$50.94
Grout:$26.74
Screws:$19.00
Tape:$15.96
Wet/Tile Saw:$154.00
Total:$1666.74

We made it in time for family photos!

This is the after photo of ripping out the floors. Also my top viewed IG story in months. Misery loves company!
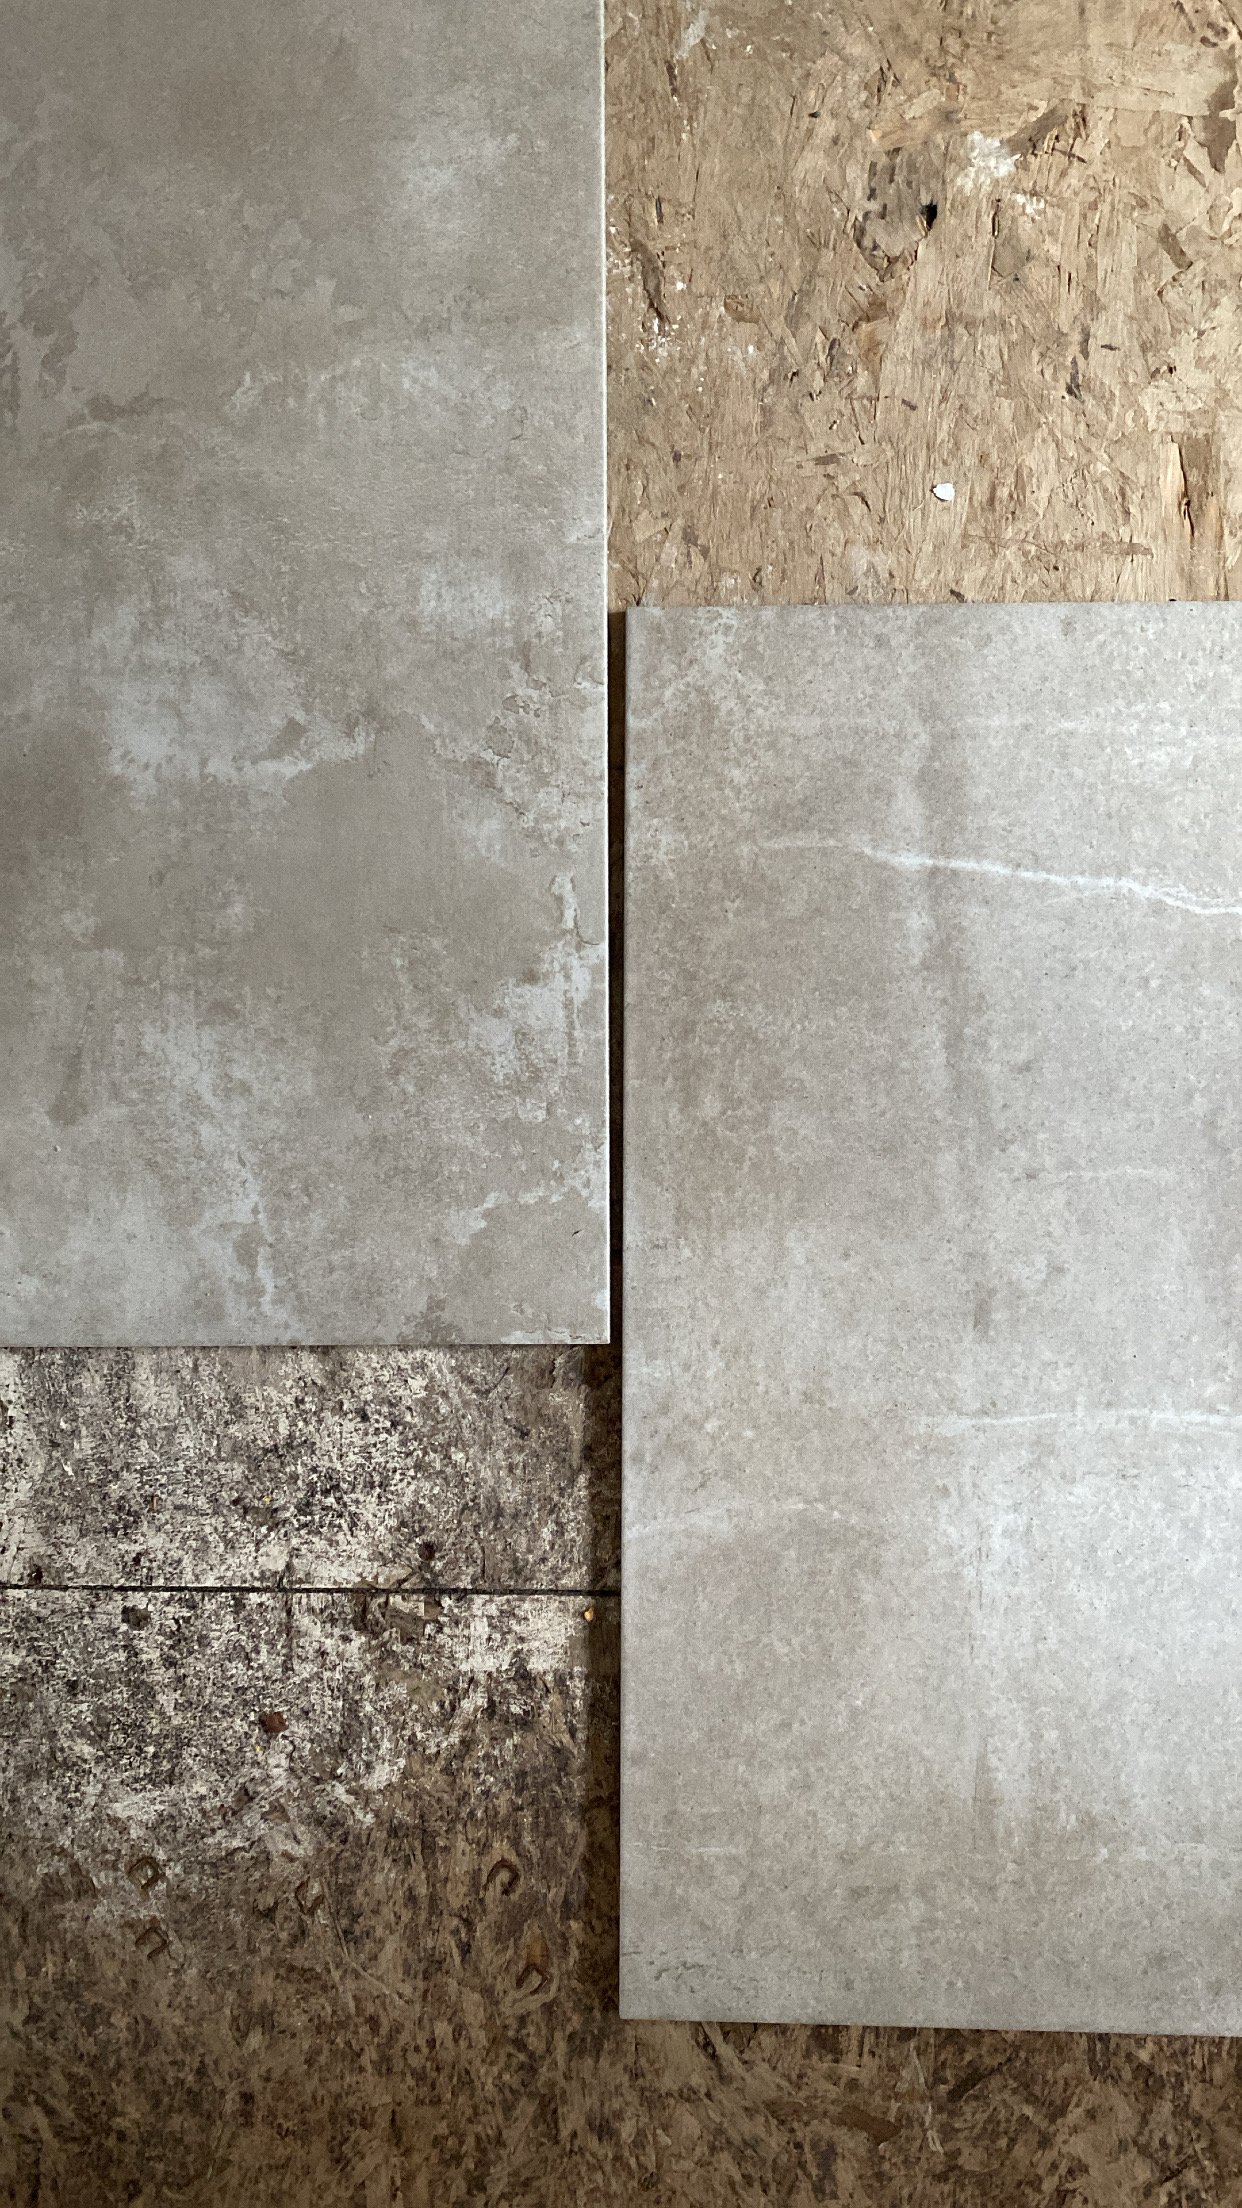
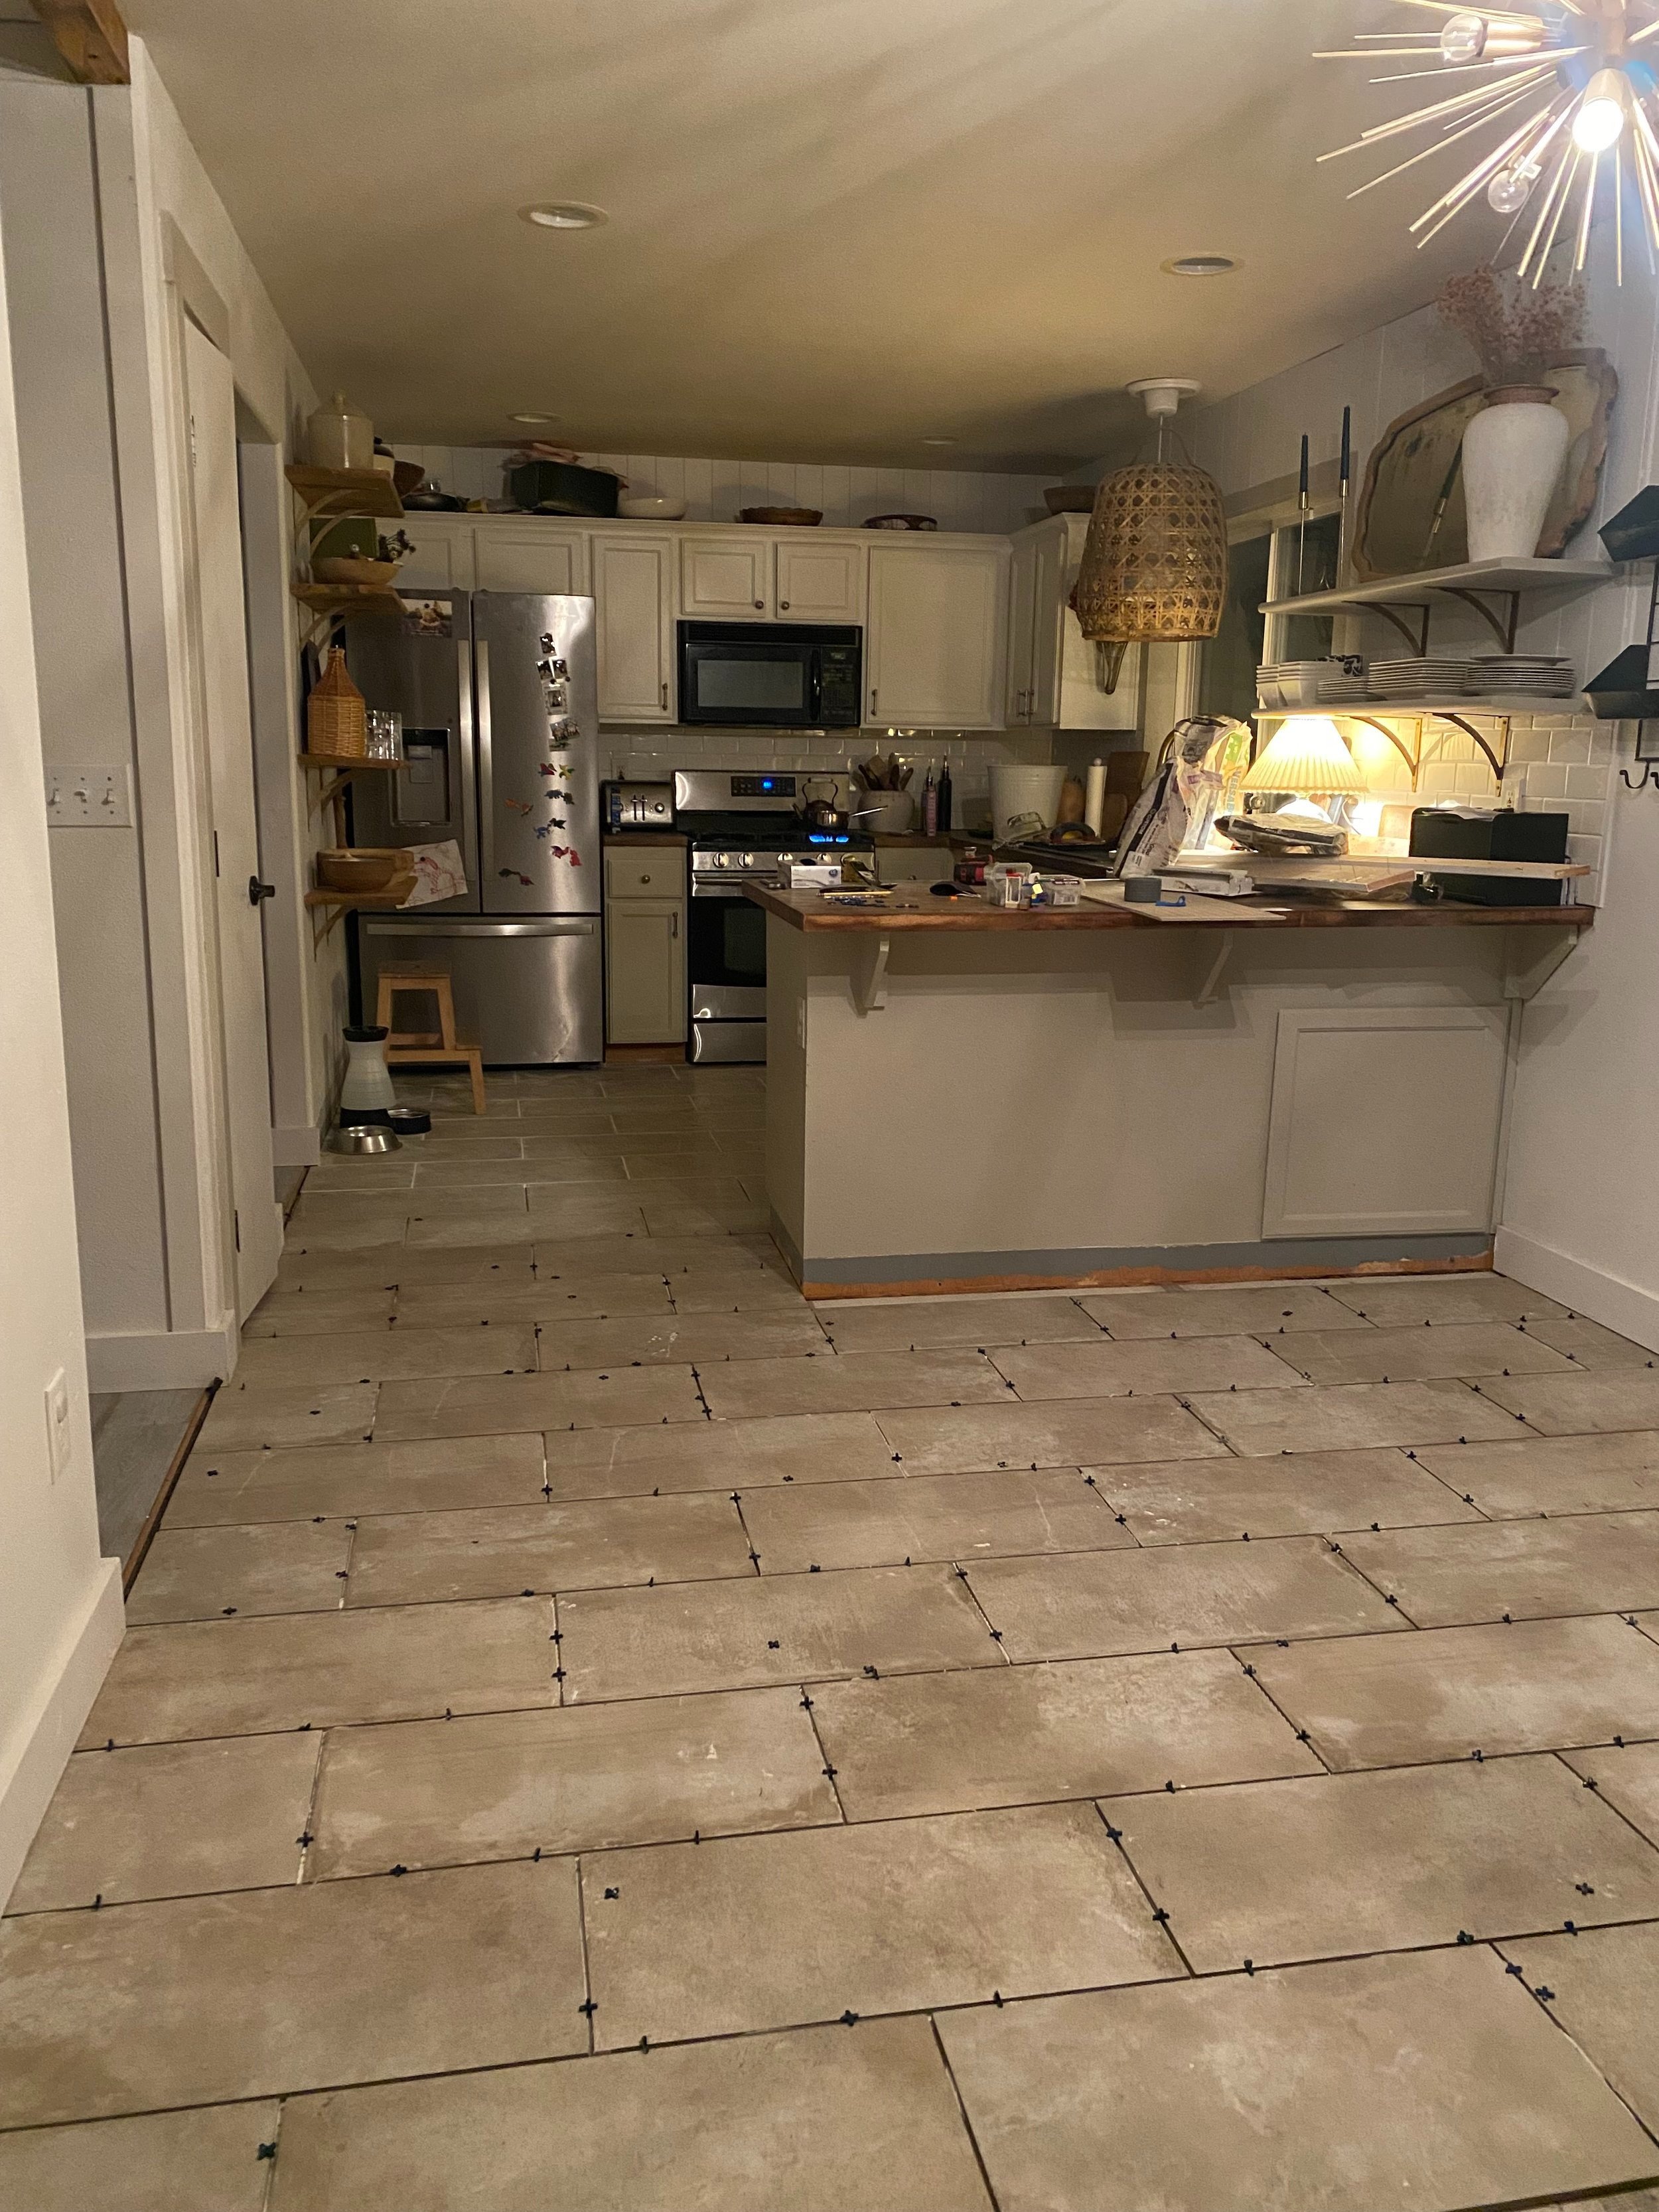
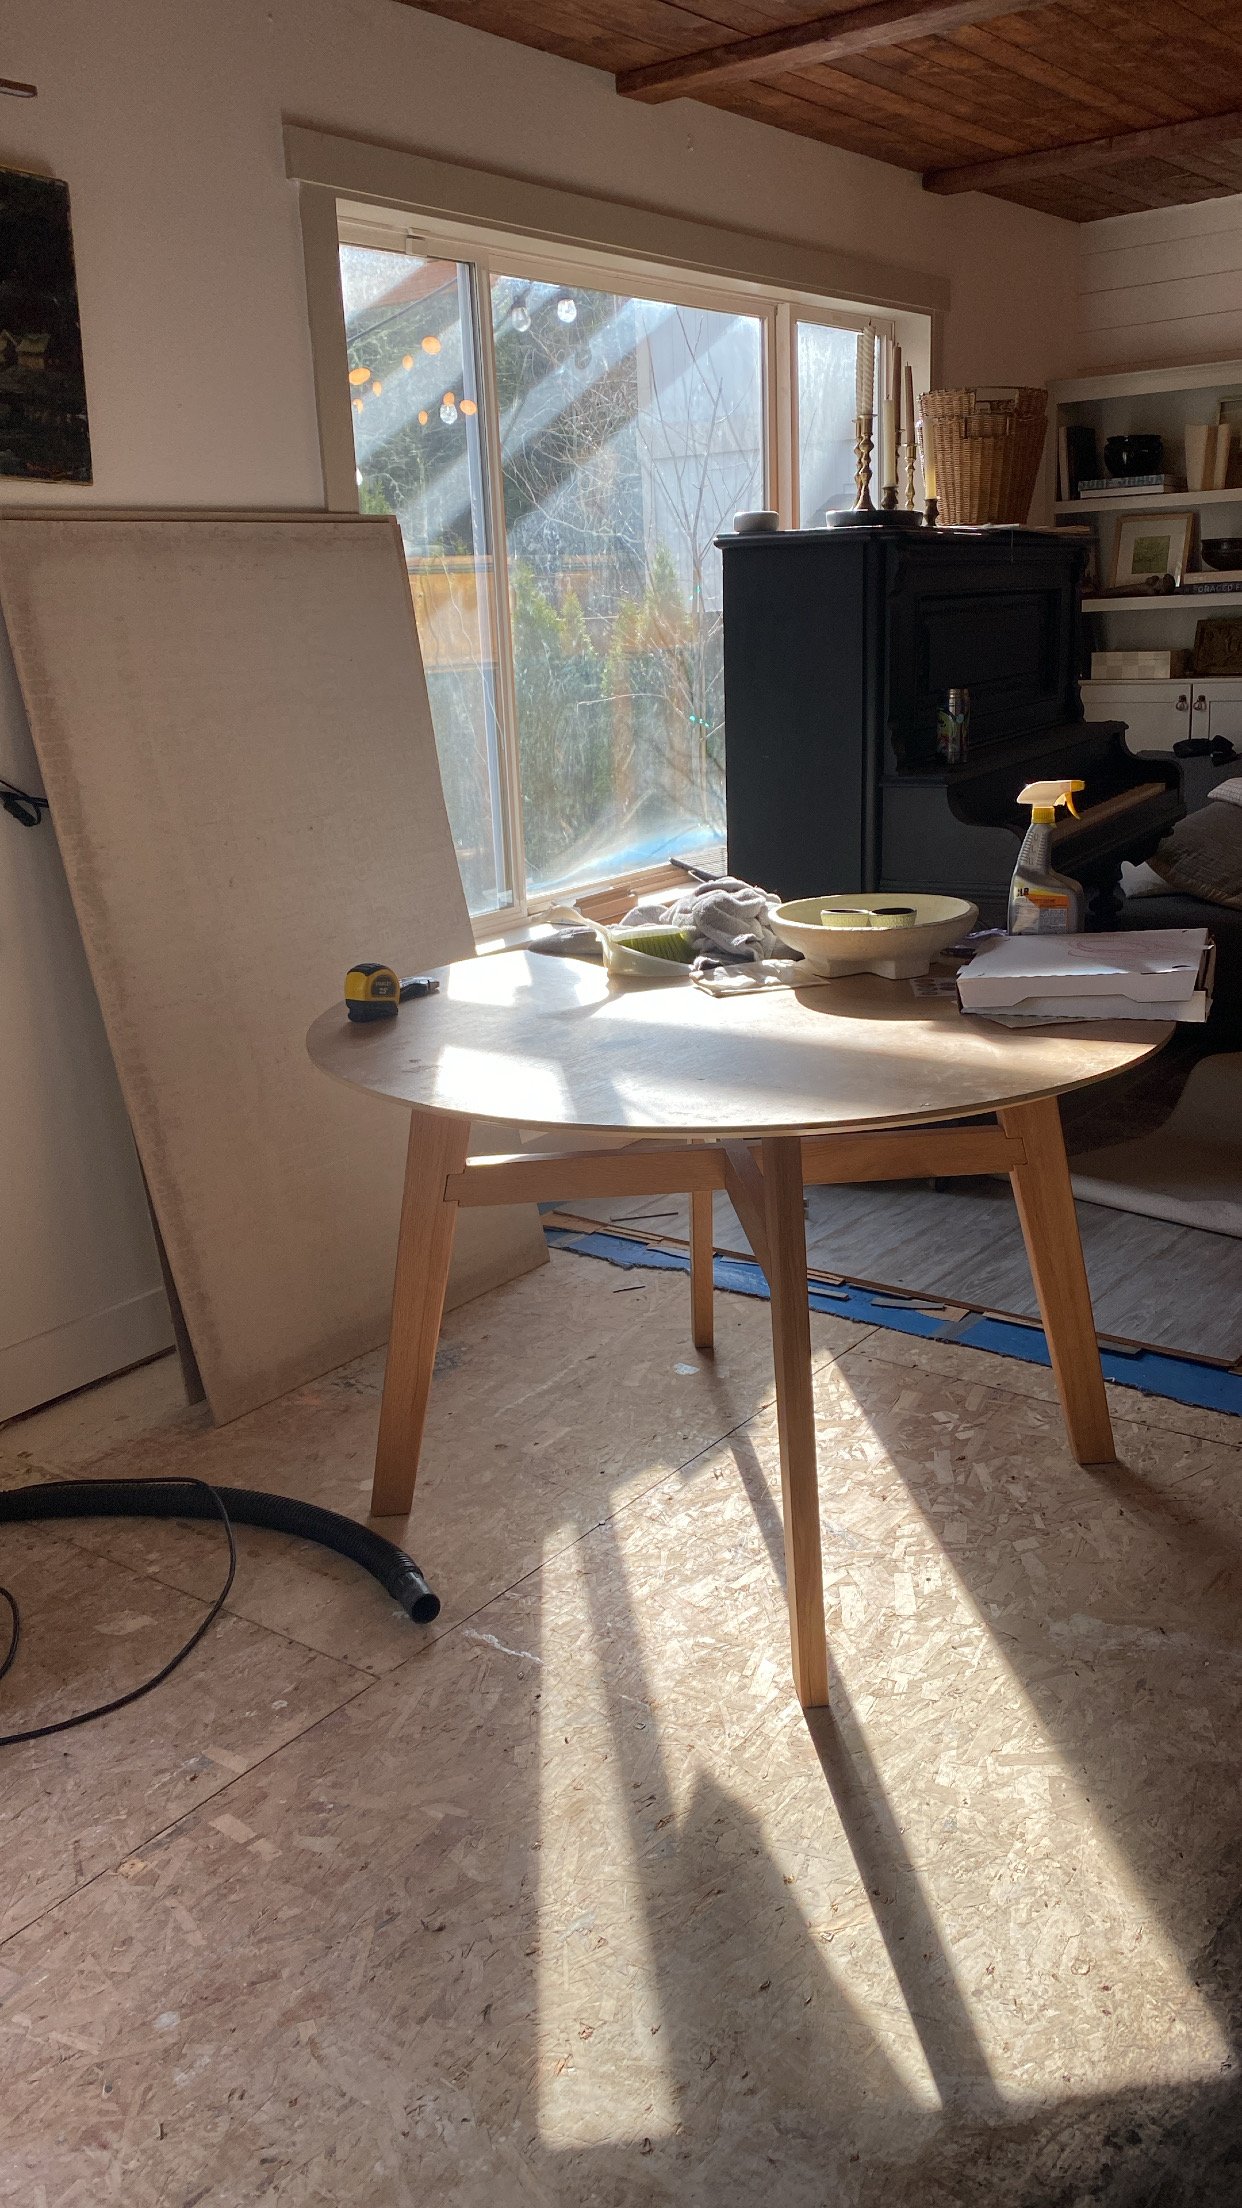
Here is the tile before we started. I placed it in the kitchen to decide whether to run it vertically or horizontally. Typically because of the direction of the rooms I would have placed them vertically. However, I felt that horizontally would display the tile better in each room. Especially when joined to the brick fireplace.

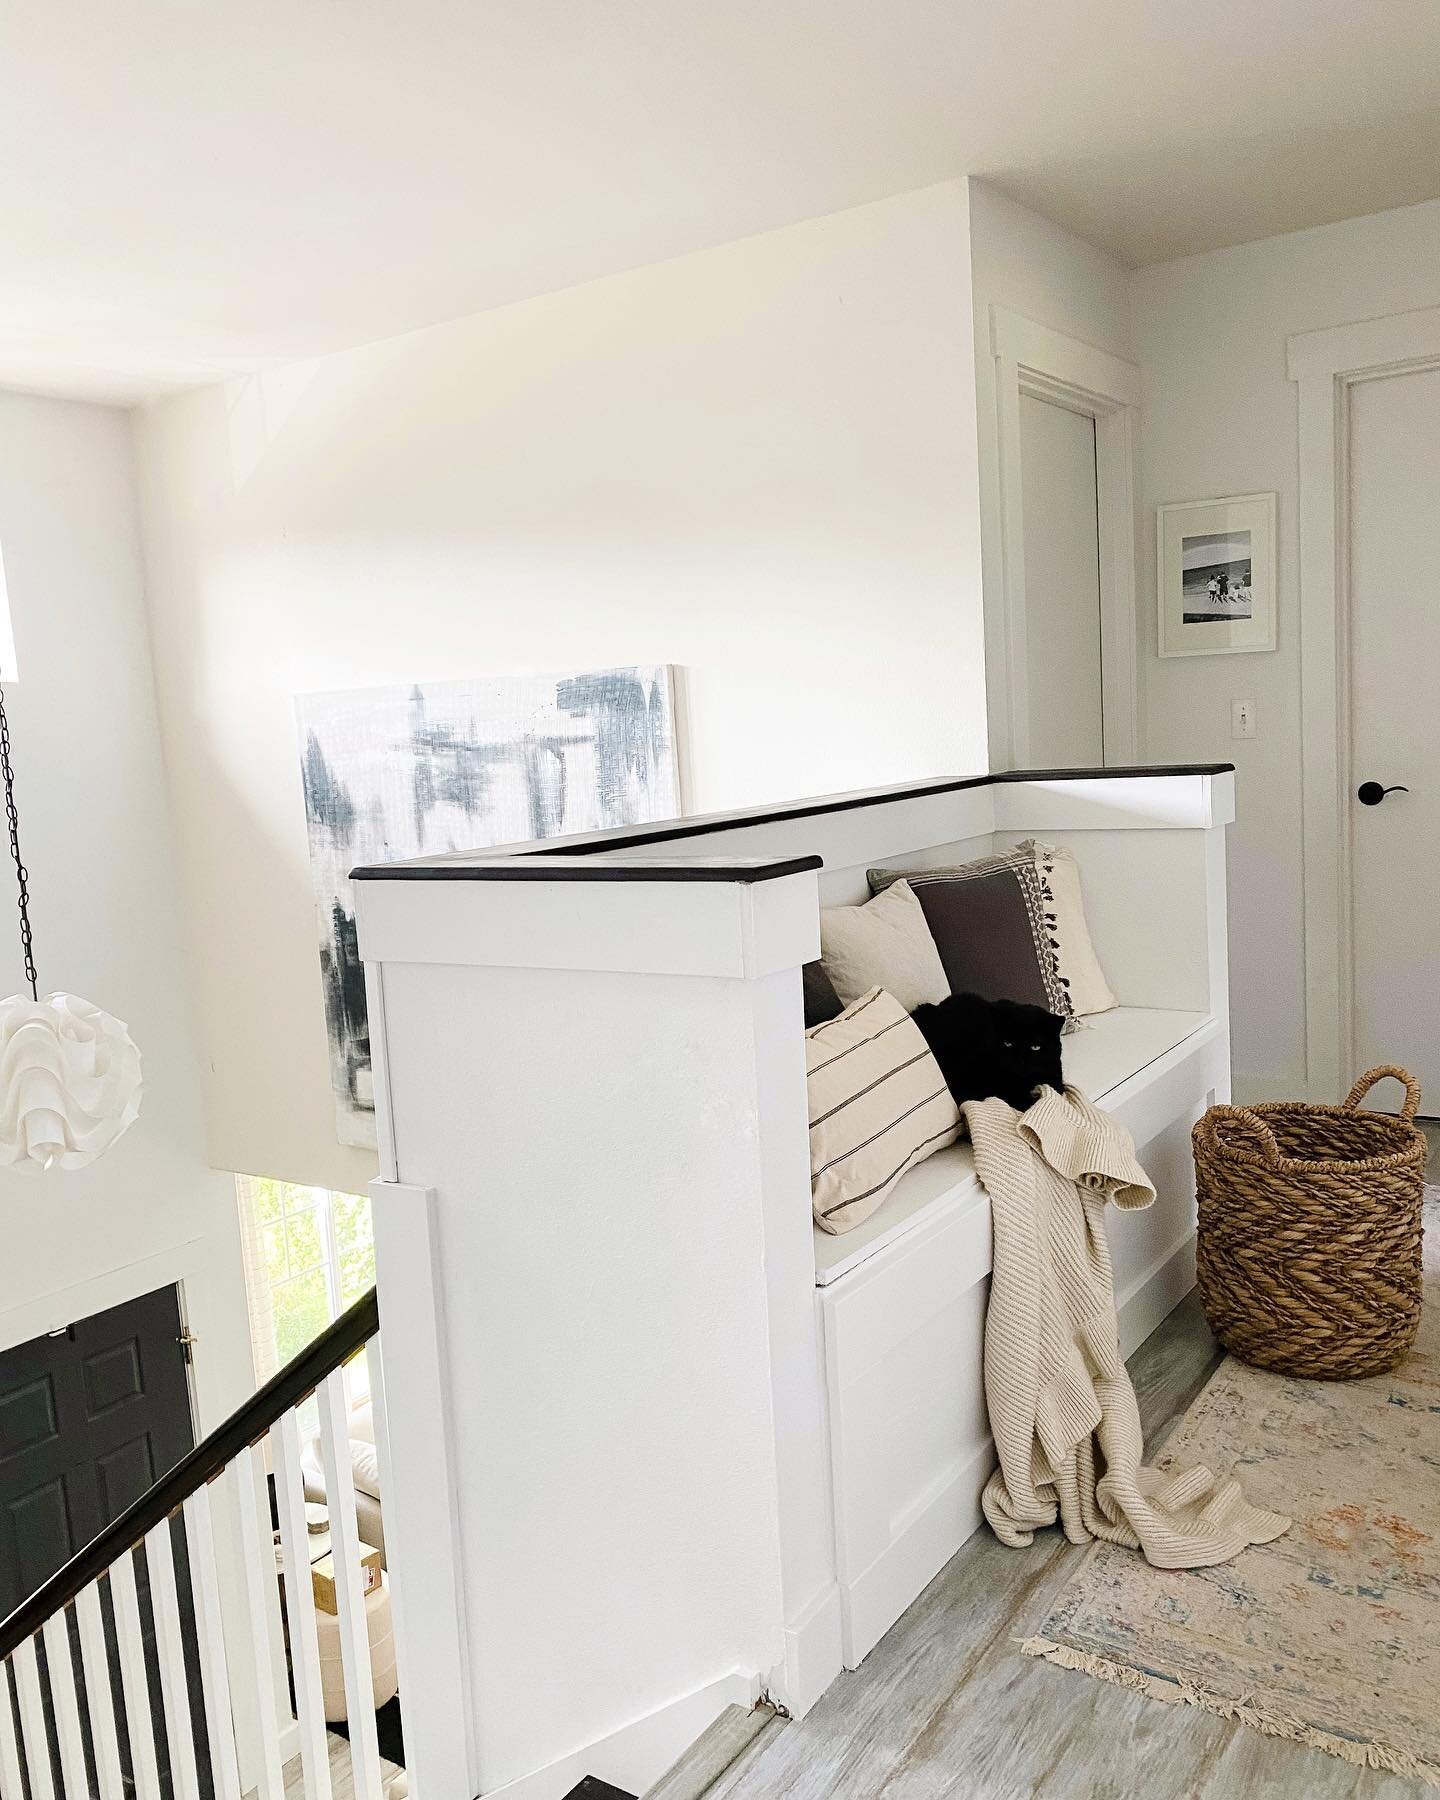
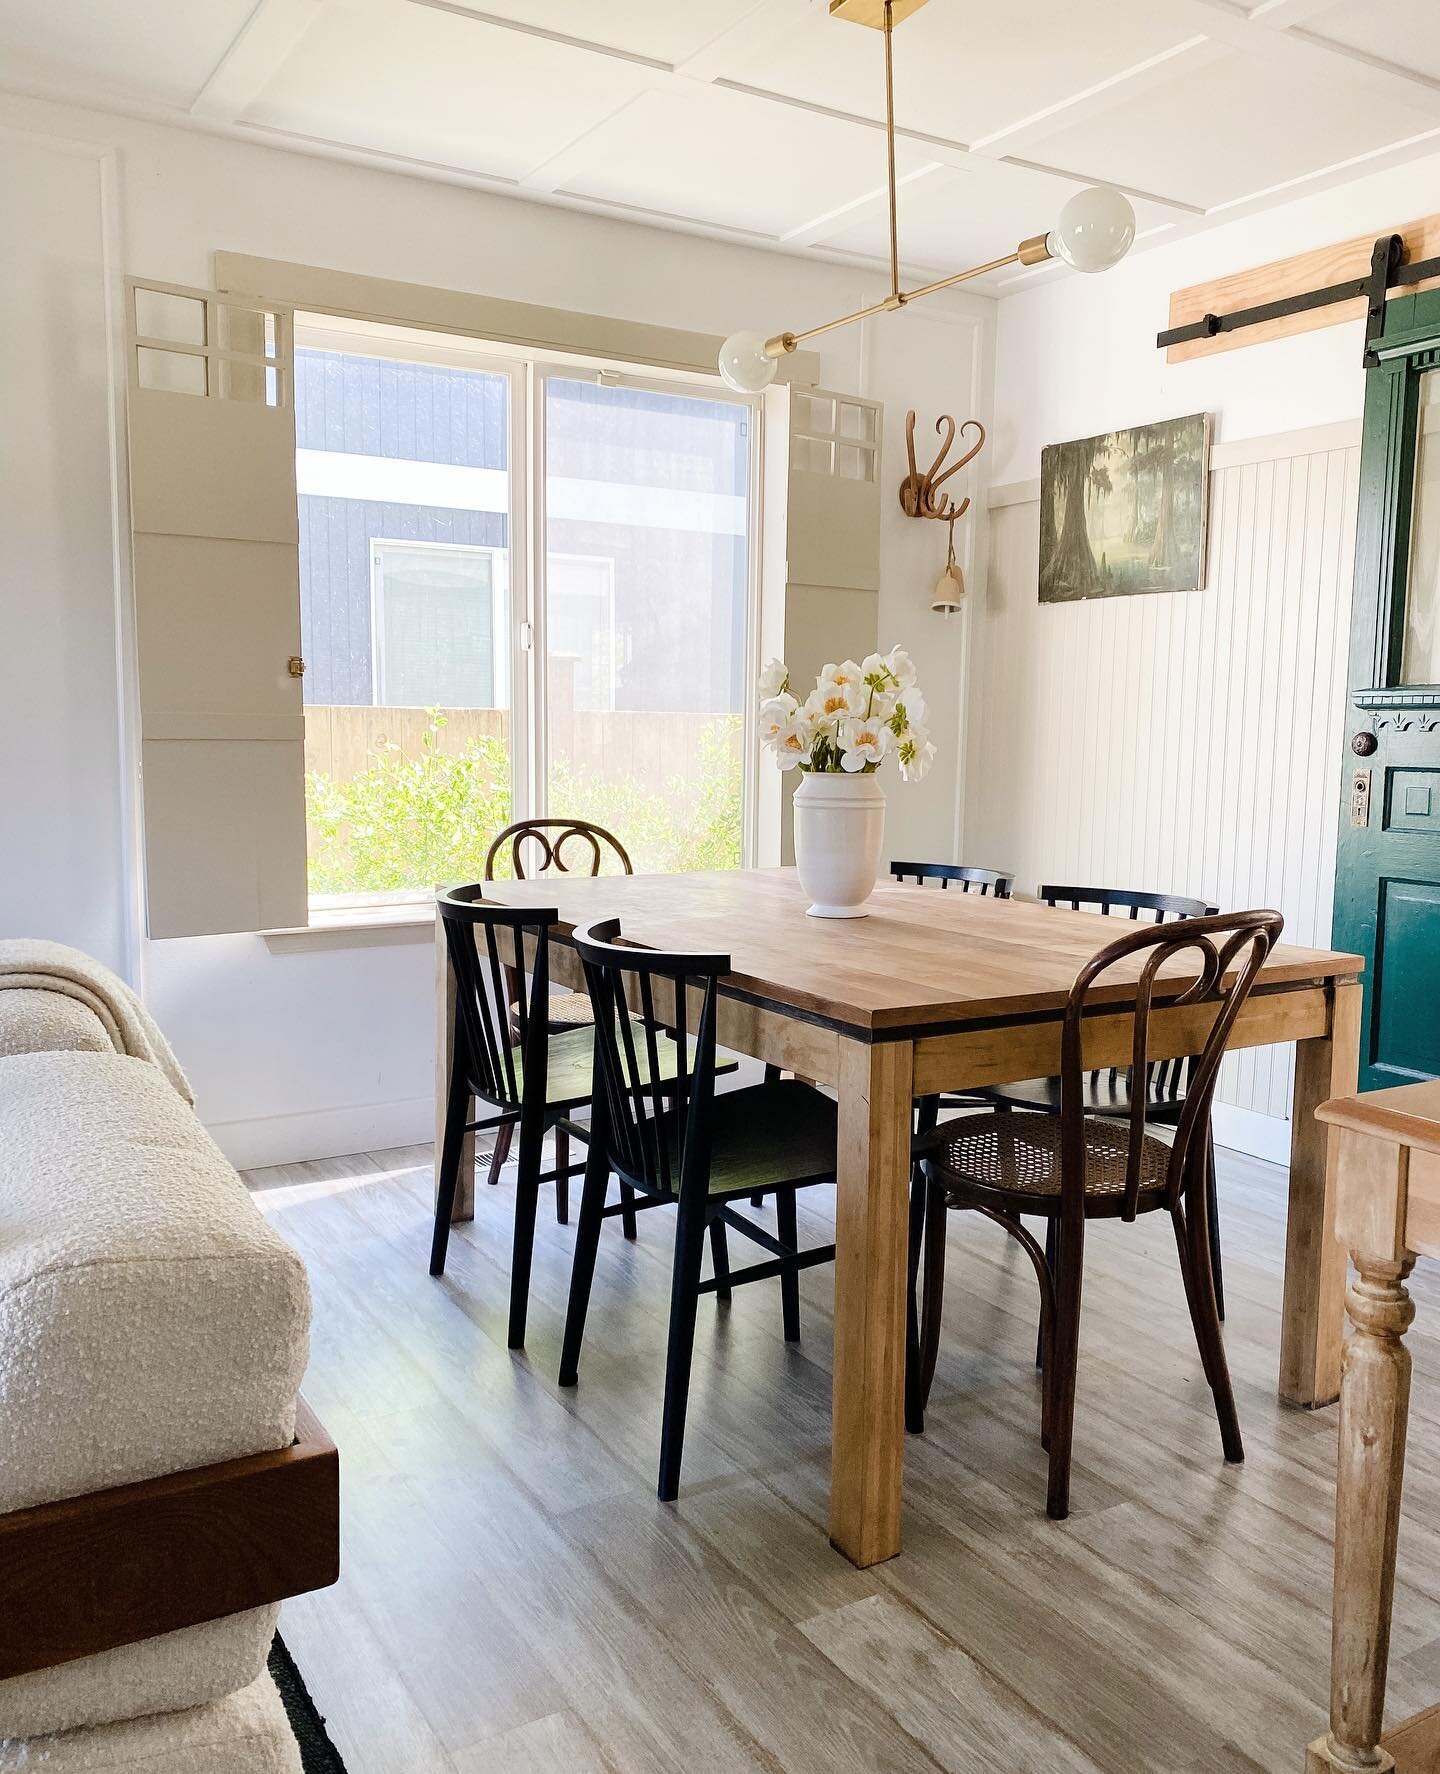
The first reveal photo after we completed this job! I love the way it looks with the newly finished wood ceiling.

Another view of the kitchen table into the kitchen. This view assures me that I made the right decision on the direction of the tile.
This project is not for the faint of heart. Granted, we worked at warp speed to get these installed in time for our photo session - this takes a lot of work. We wanted to make sure to be meticulous on the install because this is such a high traffic area in our home. We may do a lot of projects around here, but I don’t believe that Curtis nor I have any extra skills in the subject. As long as one is willing to follow directions and make sure they are doing the job right, I think anyone can accomplish it. And doing the install on your own helps to save lots of moolah. A key factor to tiling like a pro is making sure that you are applying an even amount of mortar on the cement boards. This helps to ensure the tiles are level and using an actual level throughout to double-check that leveling. My solo job was to grout the tiles after the mortar had dried. This was a job I took seriously and honestly, didn’t even want Curtis to help with. The method is that you use a sponge to wash off any extra grout that’s applied between the spaces of the tile and I went back over my grout lines repeatedly during the process to guarantee I was getting a smooth look. Grout lines can make or break the look and I was NOT about to let this look go awry due to my own blundering.
All in all I think that we did a really great job on this considering the scope of work and the time we did it within. But I don’t know, you tile me. Get it? :)
Xoxo, Meegan