Mini-Kitchen Makeover
/
You can shop my kitchen here.
Mini-Kitchen Makeover
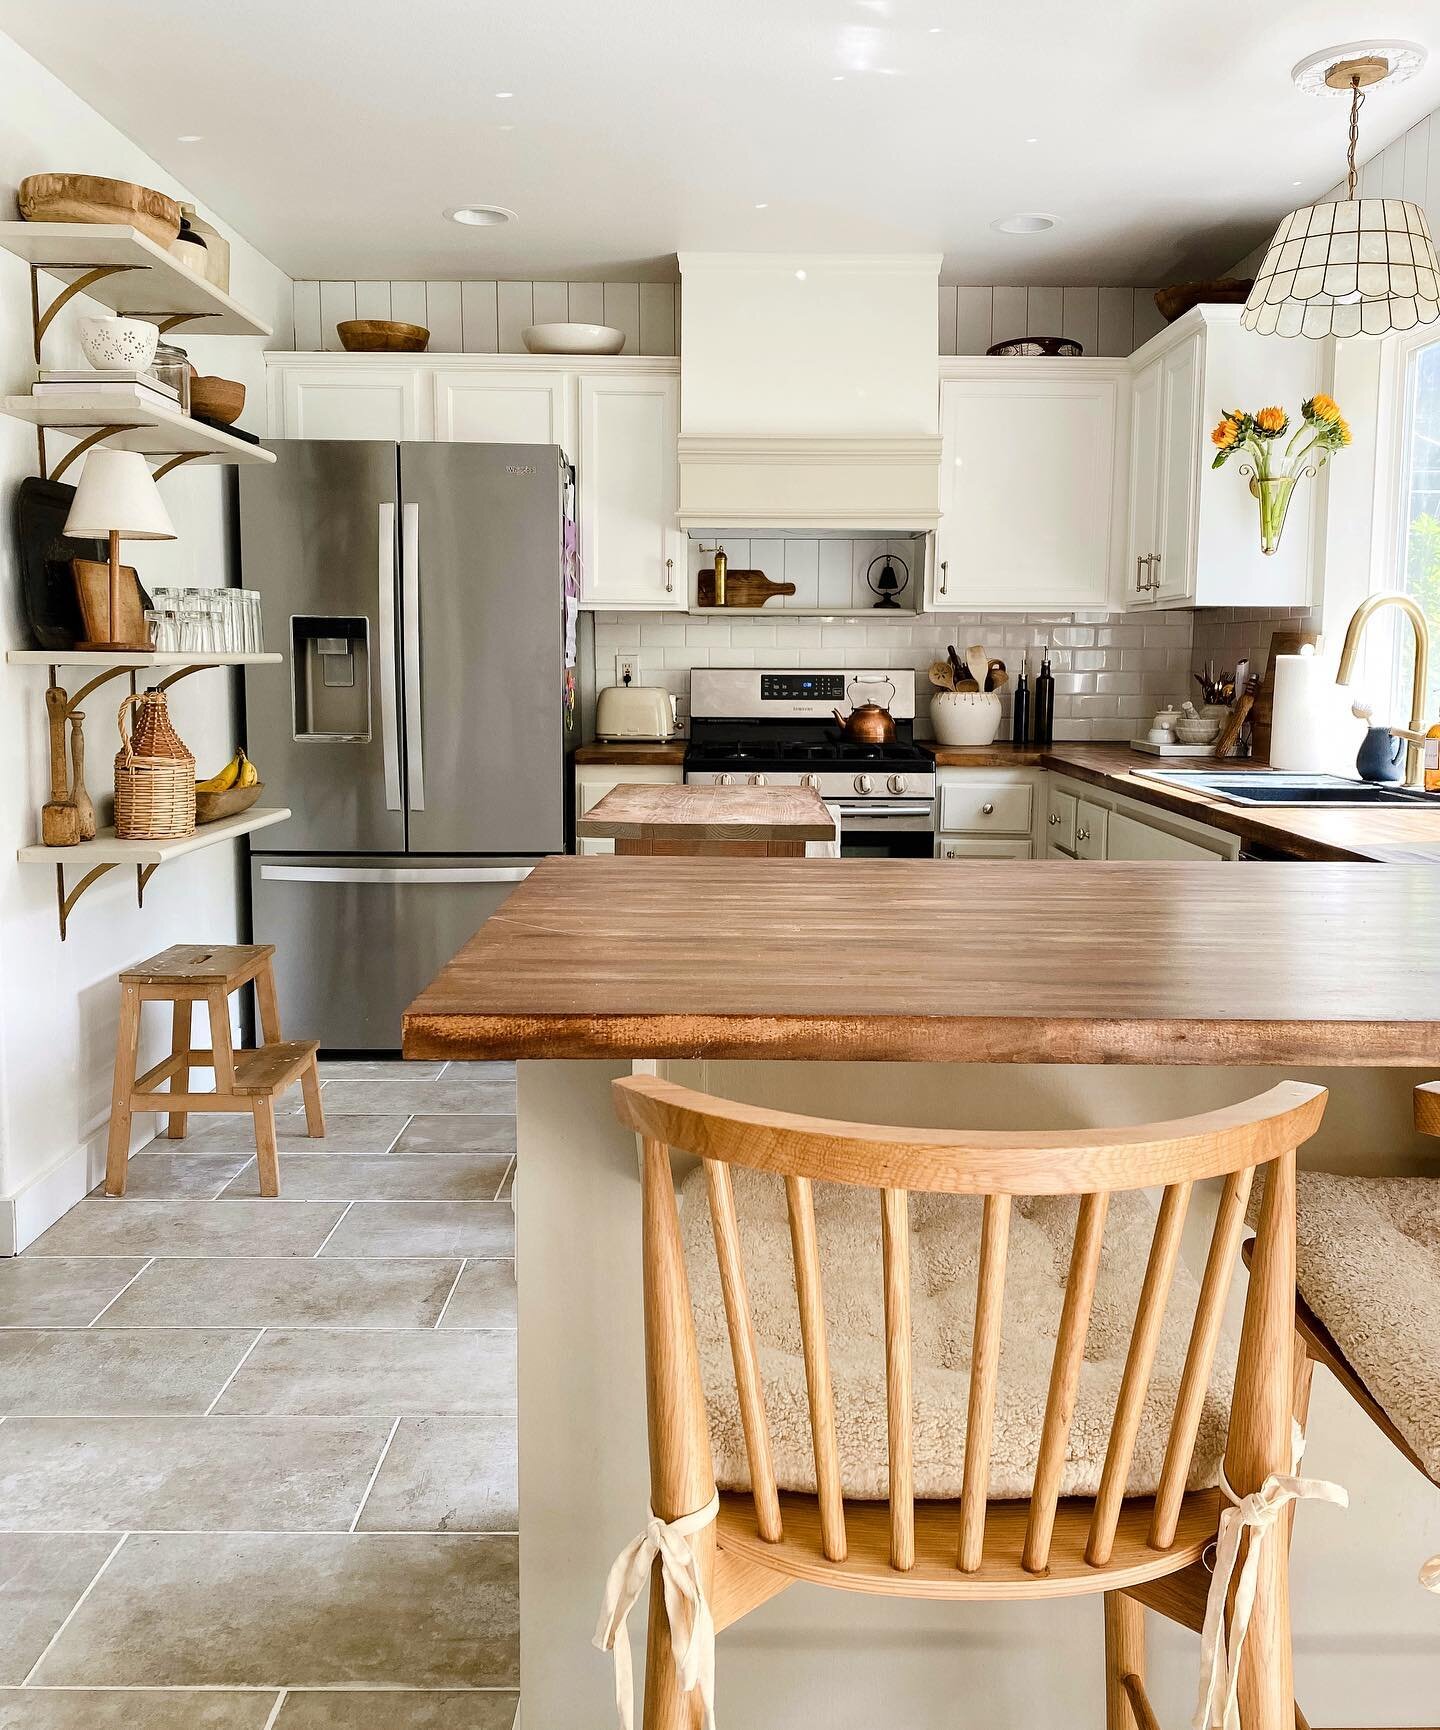
When Curtis and I bought this house 5 years ago, it was our second home purchase together – the first of which we did larger scale home projects on. The kitchen was one of the first things I touched because the 90s oak cabinets were killing my vibe. After painting those I then painted the dated green tile backsplash. It took a year before we replaced the green, laminate countertops with butcherblock and the original stainless-steel sink with a white, budget-friendly inset. Well, you live and learn with this home ownership, right?

The pull-down faucet and the accessories make kitchen time more fun.
Just as my style changes, so did our sink. I swear every day it got a bit dingier and the only person capable of cleaning it was my grandma who has magical cleaning powers. Also, what we didn’t think about when pulling the trigger on an undermount sink was that the exposed wood of the butcherblock counters would be hard to seal. It became splotchy around the edges of the sink and the wood began to crack. It was inevitable – we needed a new sink.
When Kraus reached out to me about doing a collaboration together, I was ecstatic! I had heard nothing but good things about their products and this felt like a need and not like my usual “needs,” i.e., that bowl, vase, sneakers – this we could both get behind. This time, when it came to selecting our products, we needed to meet two criteria – 1. It had to be an overmount to protect the wood counters, and 2. We wanted a dark finish so that the sink in all appearances looked clean, I need that forgiveness.
We decided to go with the black granite composite from Kraus because the style checked off all the boxes. Plus the accessories that come with it are our favorite part. Literally, Curtis has said unsolicited, on multiple occasions, how much he loves our new sink. You know it must be good! The cutting board with slats is genius and the drying rack that sits over the sink (you can’t leave wet dishes on butcherblock) is a dish-washing game changer.

Bellucci Composite Sink and accessories.
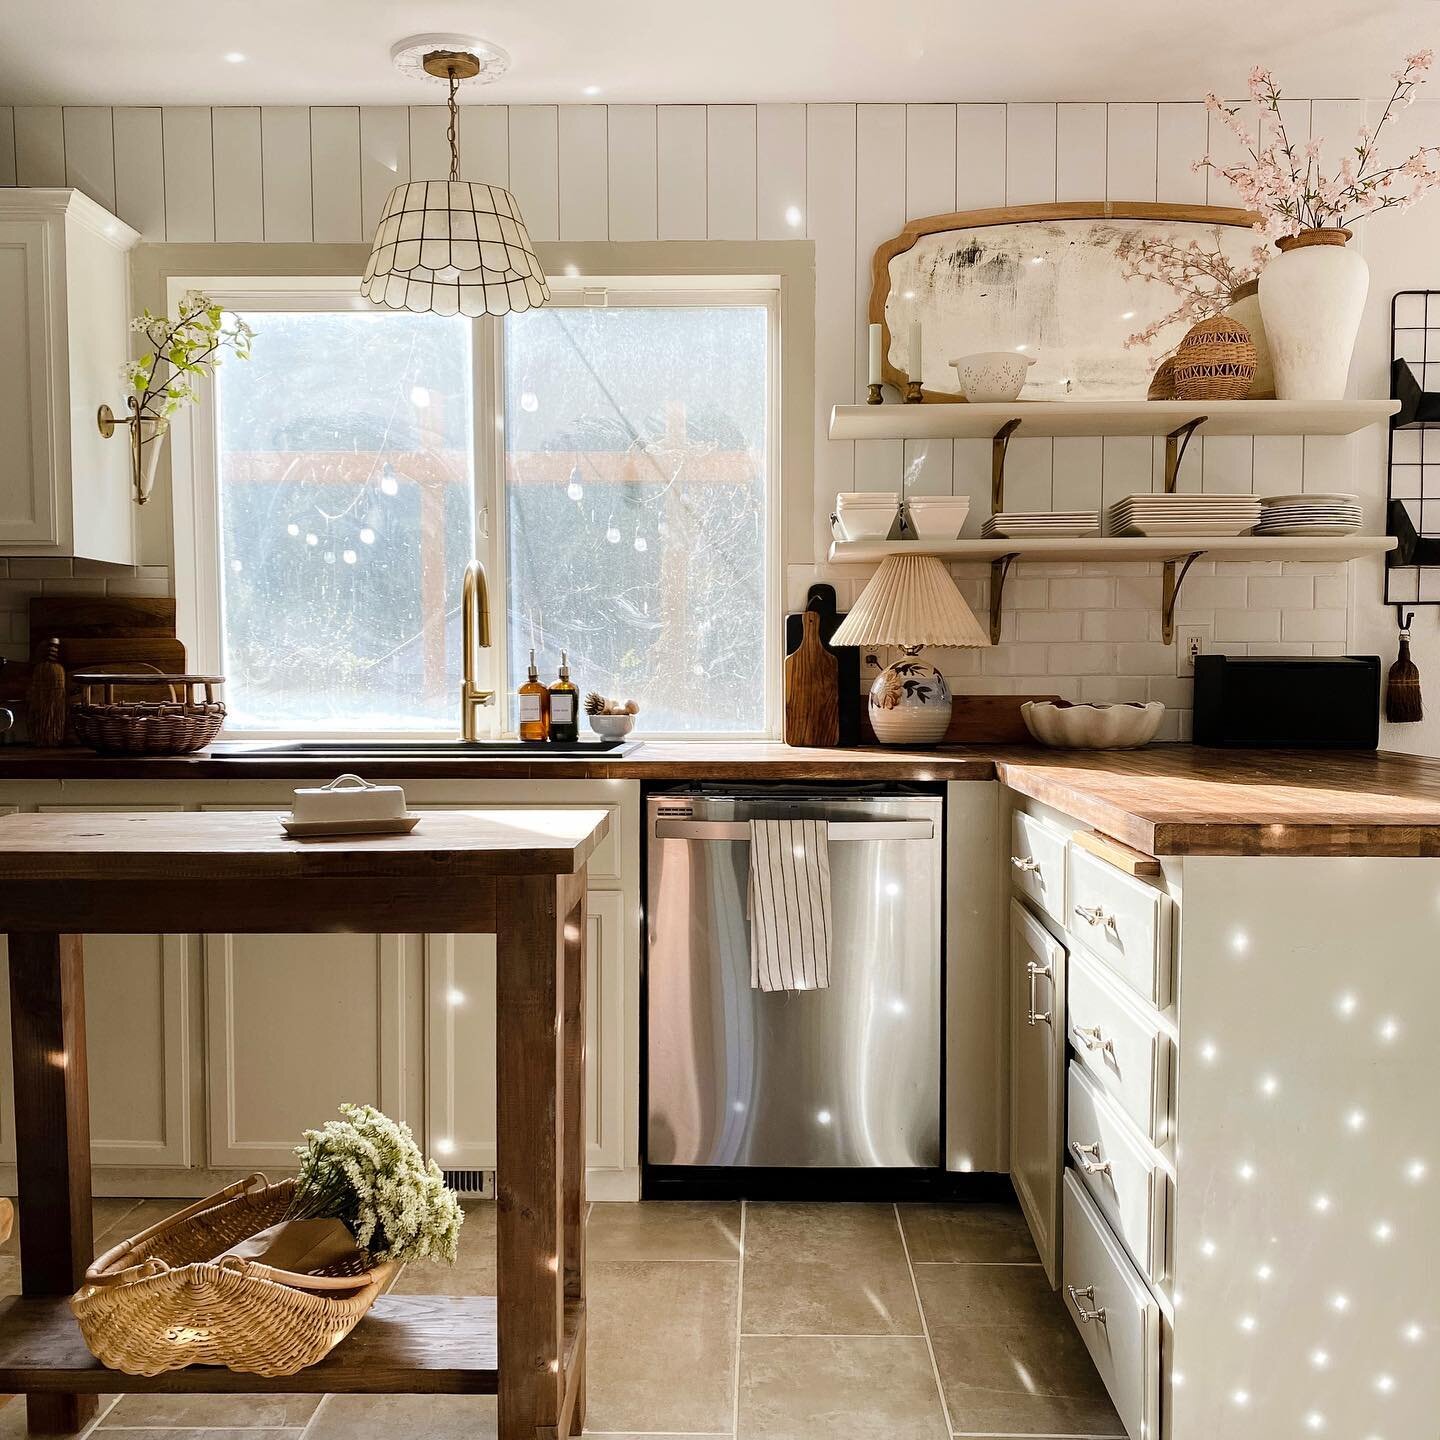
When it came to selecting a faucet, this was one of my “needs,” not needs - but you know me and I was more than happy to update our kitchen with one of my favorite metallic finishes, brushed brass. The pull-down faucet was a modern addition to our kitchen which holds a more cottagey look. I was happy to incorporate this contrast that compliments the gold accents I use throughout our home.
When it came to the install of the sink, I have to admit, I was nervous. We measured to make sure we were getting the right size of course, but you never know with these things. It ended up being exactly the right dimensions to fit centered between our dishwasher and cabinets. That additional 1”, I swear, makes all the difference. What do you know, size does matter. Kraus includes a template to measure and cut by with their sinks, and we were easily able to mark the counter according to this guide. After using a jig-saw to cut the right size hole, we then used a silicone sealant around the edges of the underside of the sink to adhere it to our counters. It is easy to follow along with the instructions on install; which clips to screw in and where to screw them.
The faucet install was all that much easier. Again, we were provided with thorough directions on how to disconnect the water lines and get that beauty up and running…hot and cold water. It may have taken me a couple tries to get the water temps running right, but if I can do it, YOU can do it.
I was elated with the look of our new Kraus products, but it felt like it left the rest of the kitchen feeling blah. Like I said earlier, my style changes and the lighter counters didn’t feel as warm as they used to. I decided to risk it all, and I mean all, if you caught my IG stories on this process then you know – it was a process! I have done the counters myself in the past, but that was always using a clear polyurethane coating that didn’t require any meticulous sanding or staining. I ended up having to re-sand twice to get the color right and I may have threated to use all the sawdust as ignition to light my kitchen on fire. Ultimately, the color Early American from Varathane came through as the perfect shade to warm our kitchen.
As these things go, one thing led to another and I decided that the black grout of our subway tile clashed with our dark counters. I had heard great things about grout paint pens and first tried this from Amazon. They probably work well on dingy grout, but I soon learned that black would require a lot of coverage and I just didn’t have the patience to continue on. I ended up stealing the tiny brush from one of my kid’s watercolor sets and then with the white paint of our interiors, I painted over the black and less-black from the pen. It worked phenomenally well! I did need to wipe excess off the tile from time to time, but all in all it was a great turn out. That pop of the white tile against the dark counters was exactly what I wanted!
But wait, I still wasn’t satisfied. I am a lover of wood tones, that is clear, but there were way too many, IMO, going on in our small kitchen. The island was different than the open shelves that were different from the counter stools that were different from the newly stained counters. Not to mention all of the wooden accessories I have styled on the surfaces. The easy solve was to stain the island the same as the counters and to paint the open shelves above our counters the same as our lower cabinets. NOW it all tied together.
Oops, I’ve withheld information from you. During the in between time of installing the sink and pull-down faucet and not sure whether I should pull the trigger on staining the counters I did a thing. We have had a DIY chalkboard in our kitchen since we moved in, it was probably one of the first projects I had Curtis do in there. Side note: at that time I was afraid of power tools and saws and cutting and well, now I think how easy that project of trimming around a rectangle of chalkboard-paint would be. We stopped using it for grocery lists and it became more of a chore list, and then even more of just whatever the kids scribbled. Point is, it didn’t get used much and it felt like wasted space. I figured that we could probably add some additional storage there by adding some more shelving as we did above our countertops. I used the same stair treads that we did on the other side of our kitchen, yes they are stair treads, and cut them to size. We used stair treads at Curtis’ suggestion because their rounded edge gives them a more finished look and for $10 a pop, it’s a bargain. These I stained with Golden Oak and then used brackets to secure them into studs. And as Curtis would tell you, I can’t do anything the easy way – I’m high maintenance. So, the black or white options in brackets were not the right fit. I purchased white brackets from Home Depot and used Rub’nBuf in European Gold to give them a vintage vibe. They are dreamy, don’t you think?

The best part is styling them!
Next week we’ll be hosting Thanksgiving for the first time with our new appliances from Kraus and the updated kitchen and I couldn’t be happier! Our kitchen gets a lot of love in this house and deserves all the love that we put into it. I feel that it reflects our home better with it’s latest changes and the functionality between the sink and the additional shelves has made it a much easier place to spend all . of . my . time. This house of ours isn’t perfect, it’s not a million-dollar home, and maybe it’s nothing to write home about – just a blog post.
Xoxo, Meegan
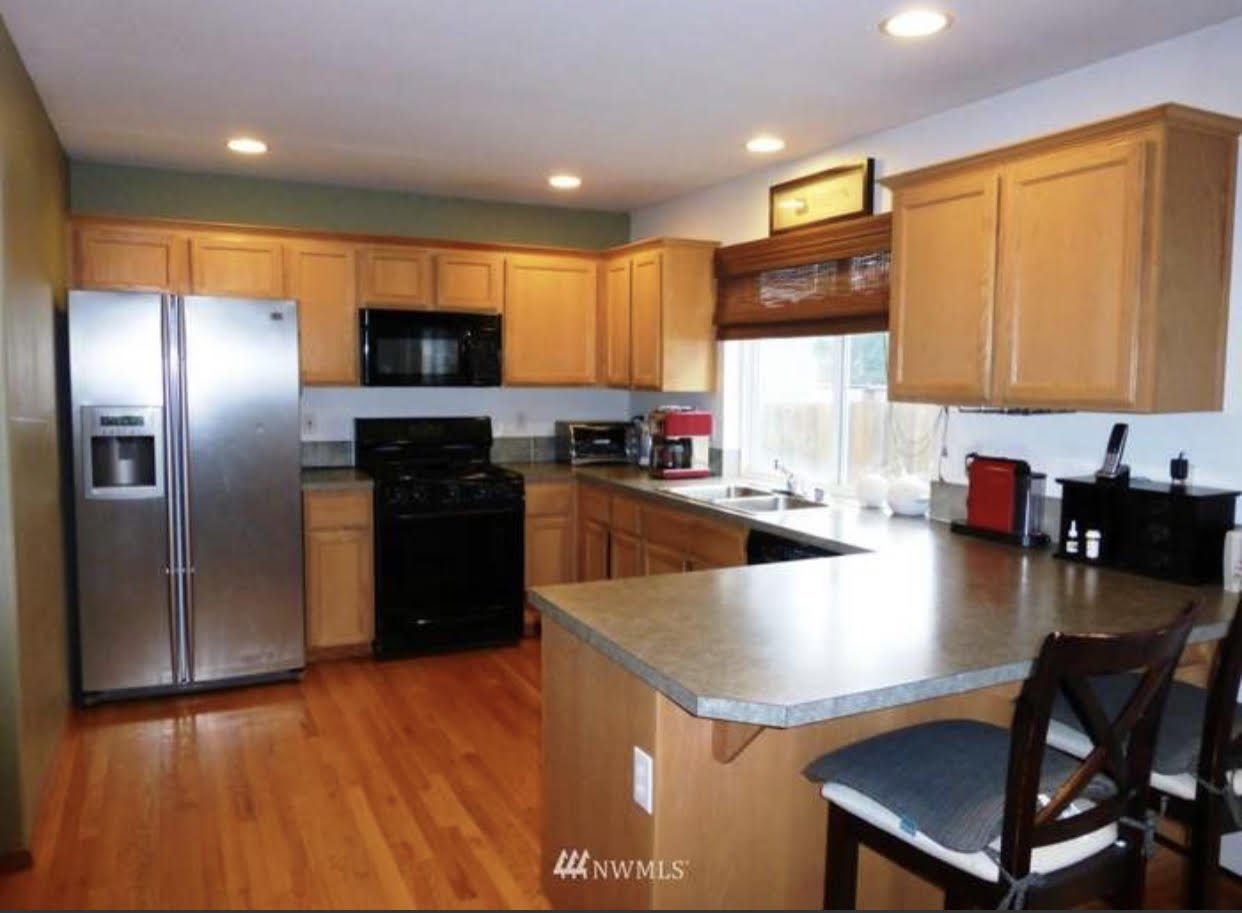
Here’s what our kitchen looked like when we moved in.